A Inno Valley Works Product
Before installing the WhatsApp Business package
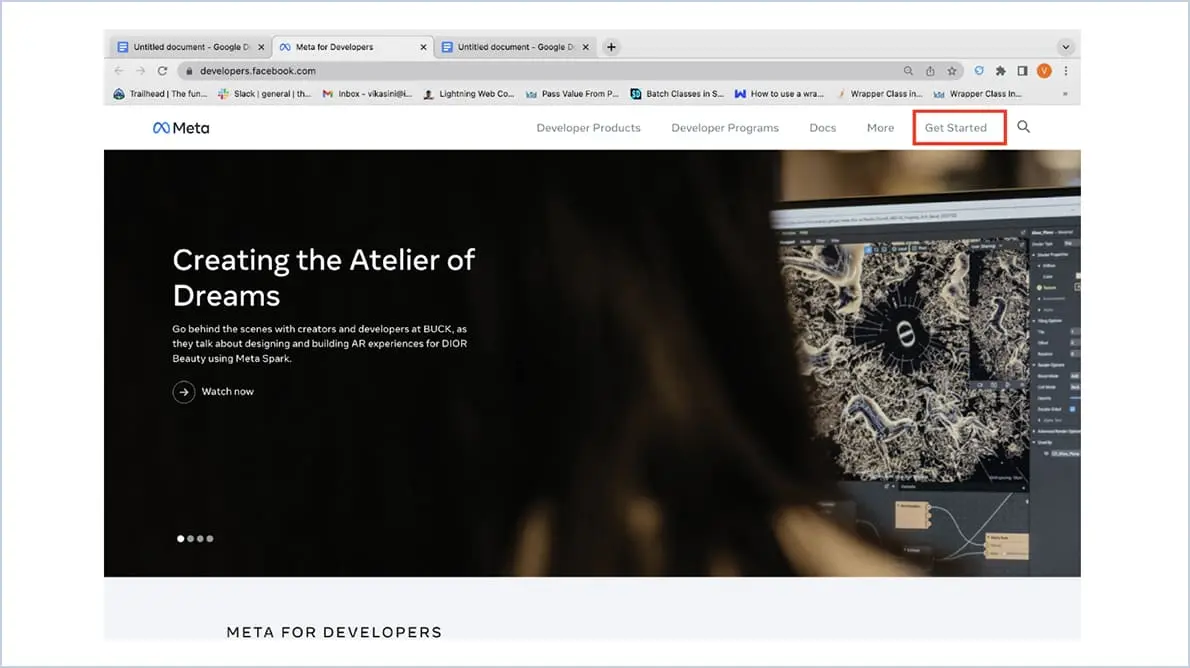
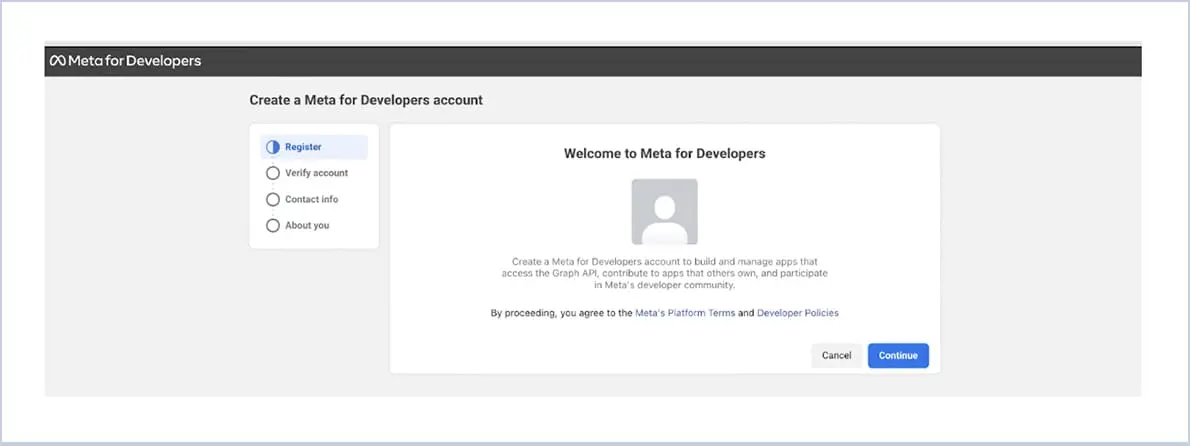
- Register and create a meta developer application using Facebook login – https://developers.facebook.com/
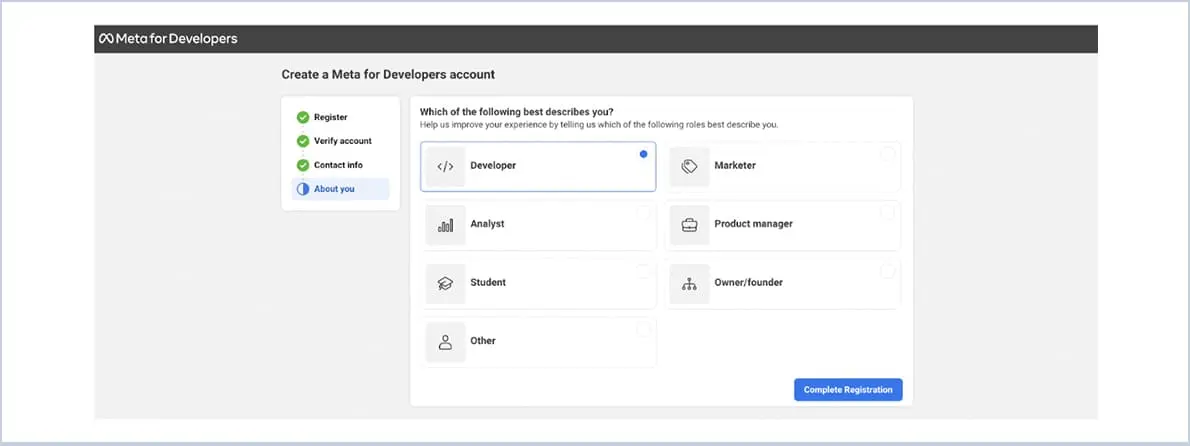
- Click Get Started and enter the details
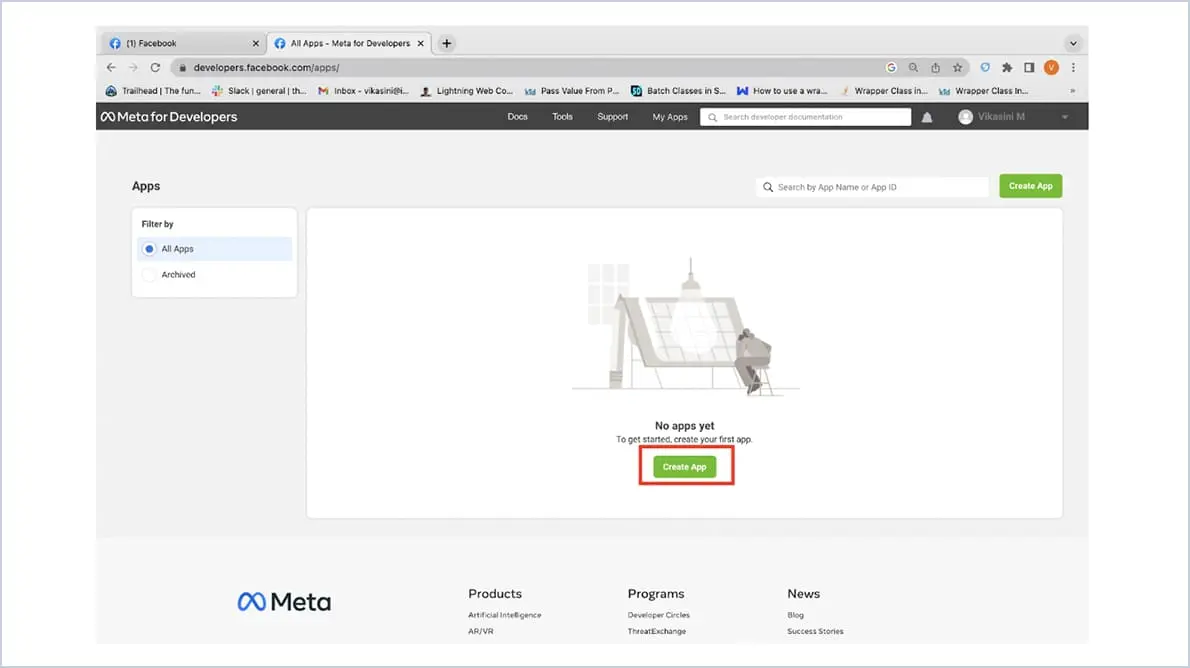
- Click Create App button
- Select Other and click Next
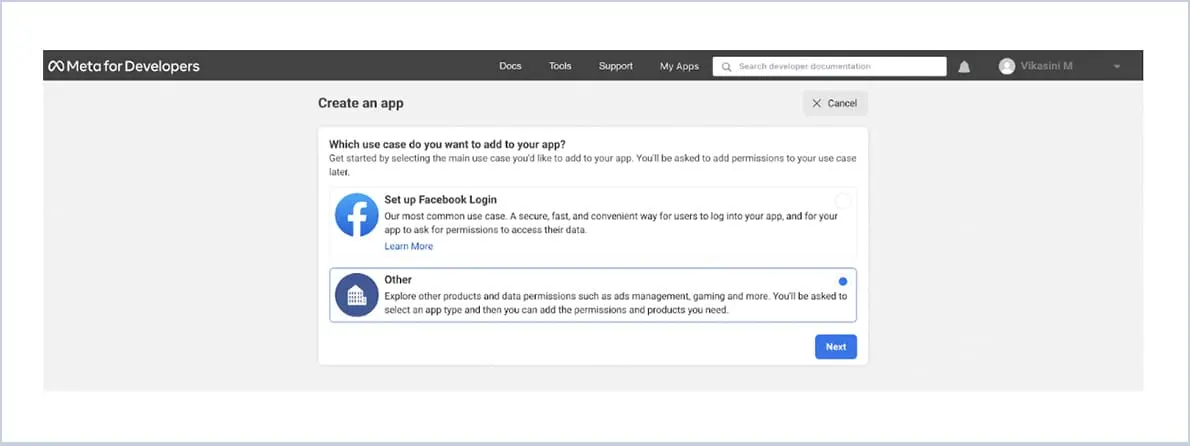
- Choose App type as Business and click Next
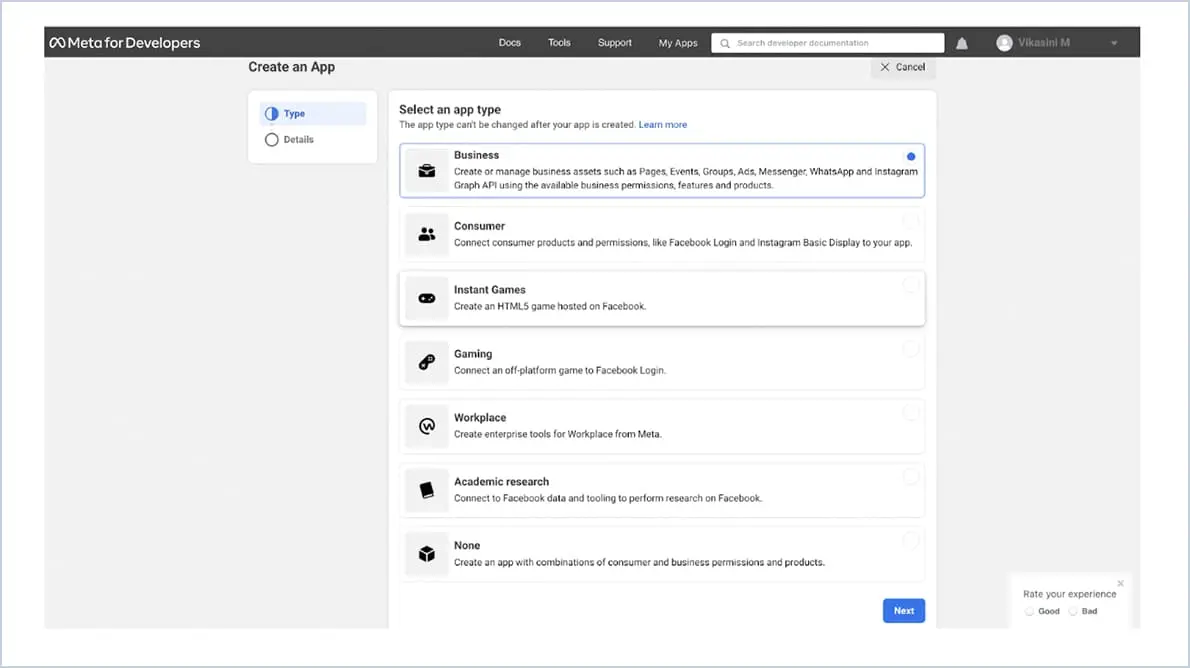
- Enter the app Name and email and click create app

- A Pop up box asks for a password and click Submit
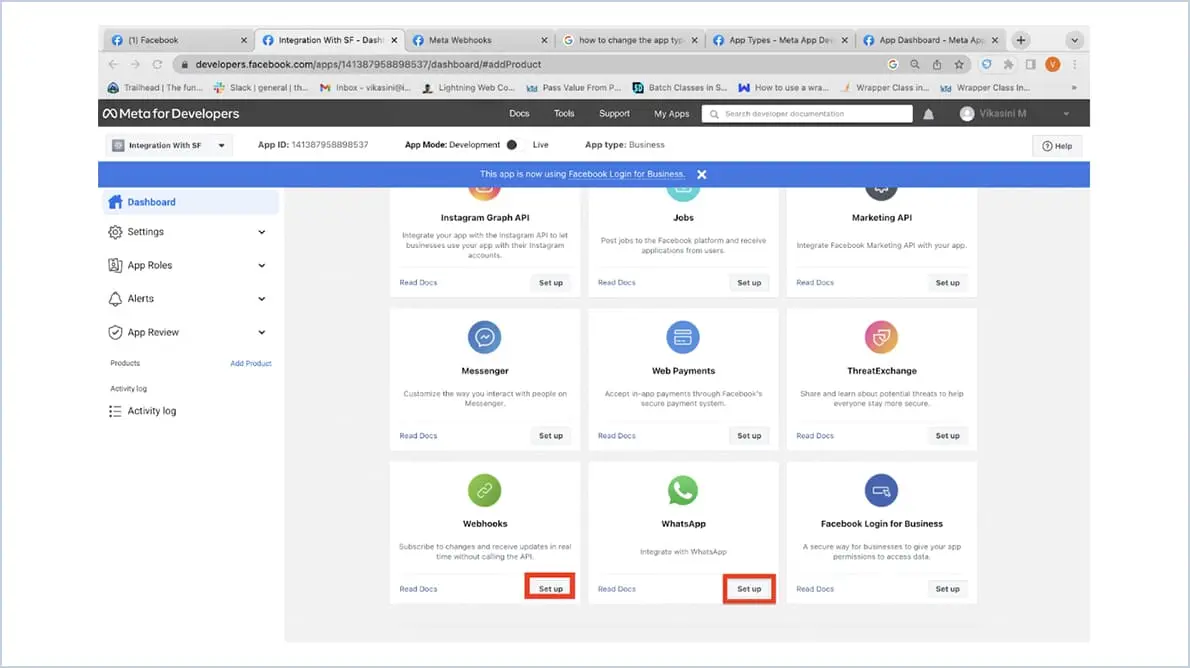
- Click Setup in WhatsApp section
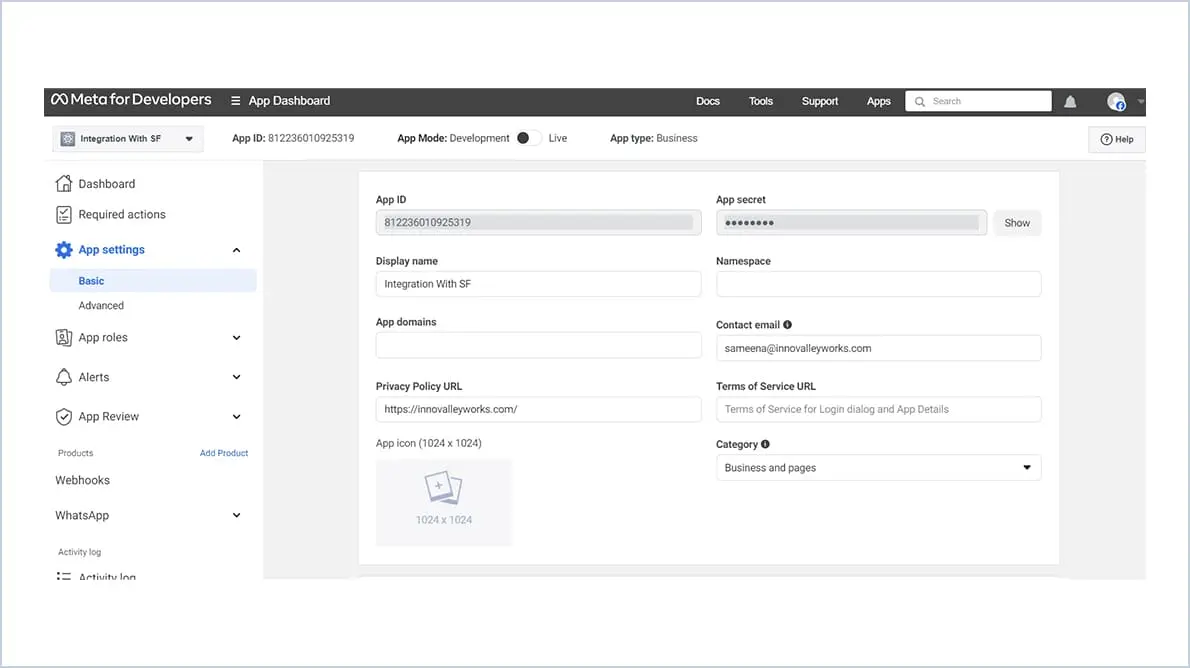
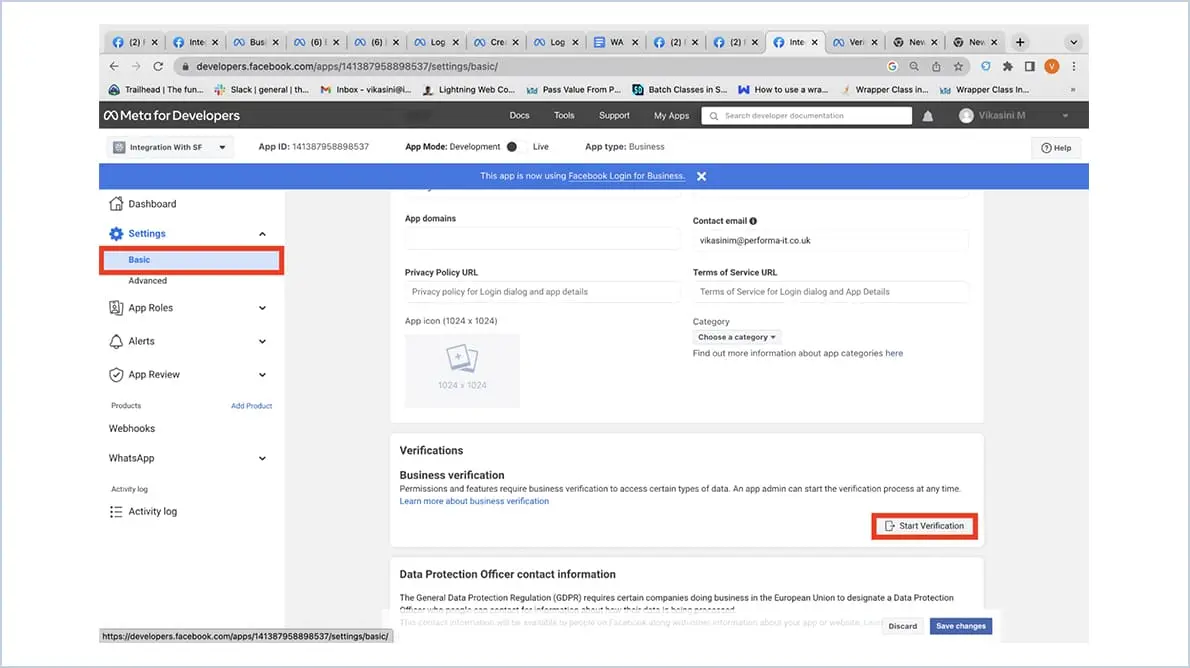
- Go to App Settings → Basic
- Enter the privacy policy URL in the respective field.
- Choose the Category of the business and Click Save Changes
- Now Click Start Verification
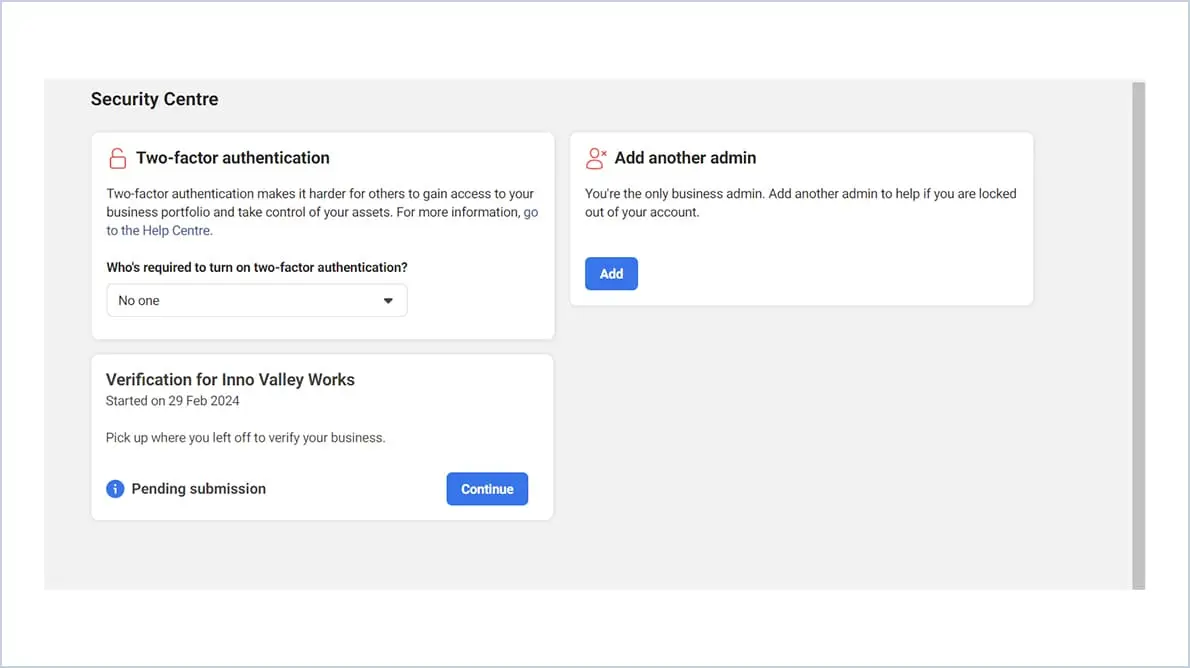
- It will redirect you to another page. Click Start or ‘Continue’ if you had previously started the process
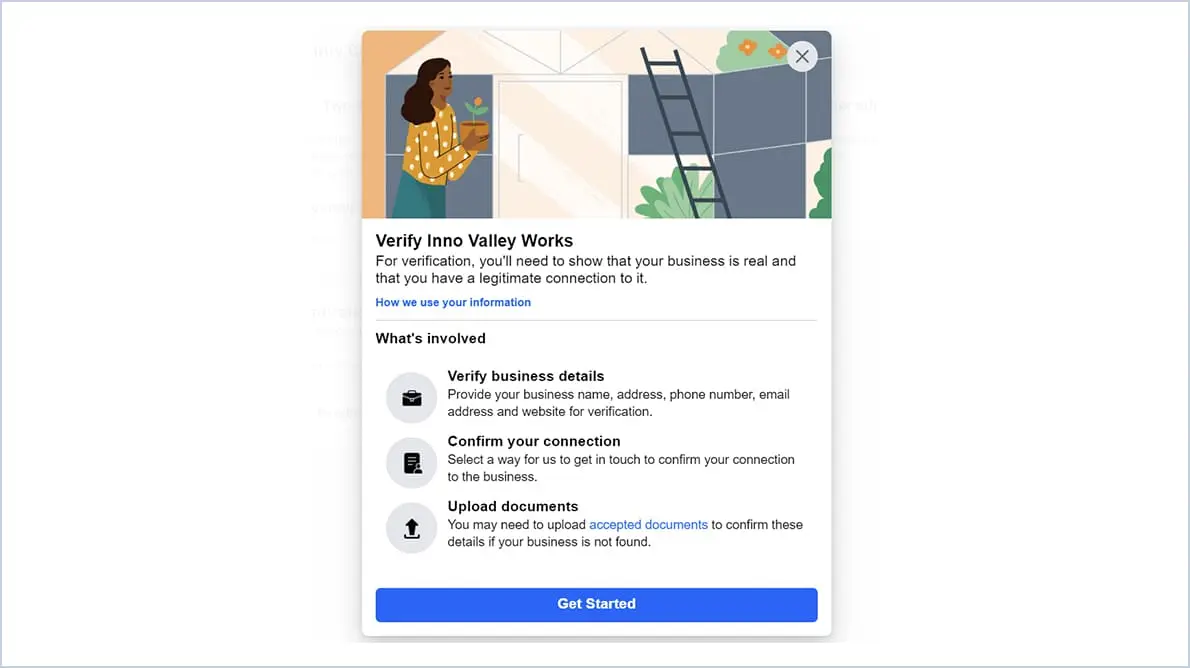
- Click ‘Get Started’ in the pop-up
- Select your country and then enter relevant business details and documents. Click Next.
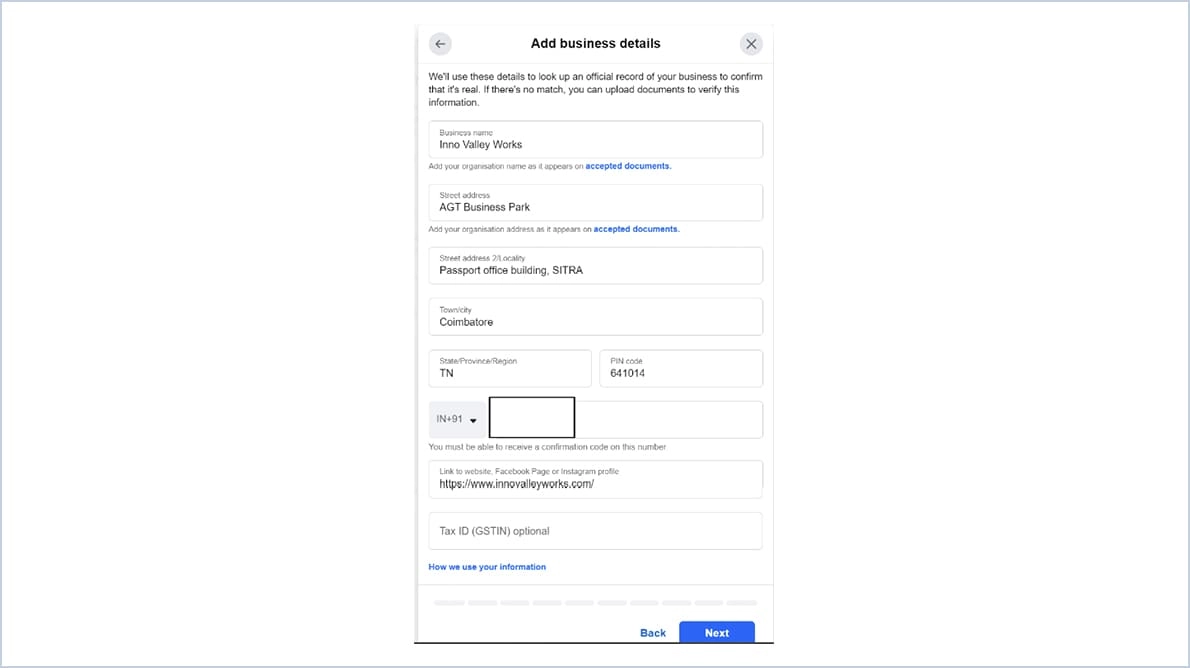
- Choose Email to receive your verification code. Click Next
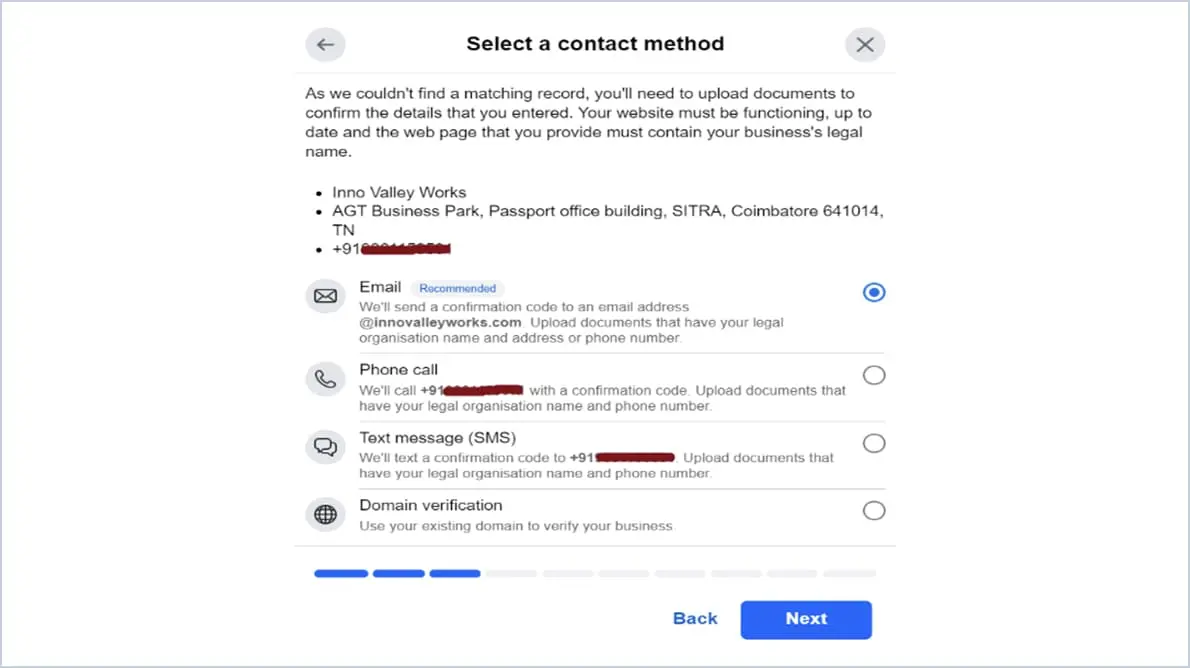
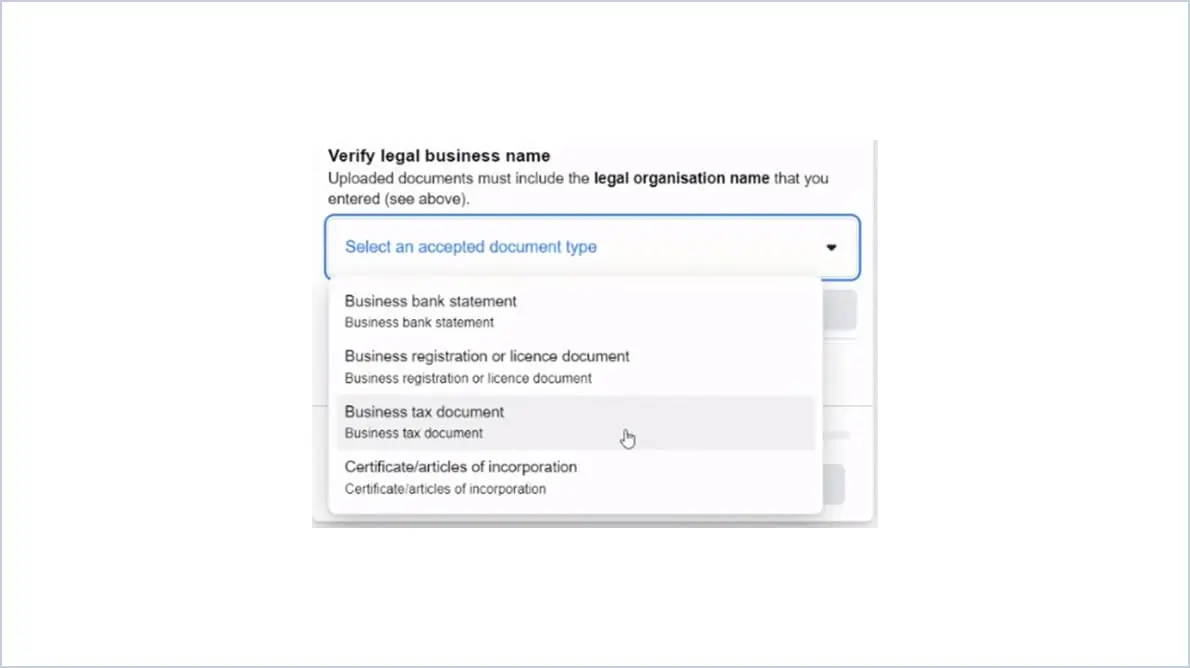
- Upload relevant documents asked by Meta to confirm authenticity of your business. Click Next until reaching the end
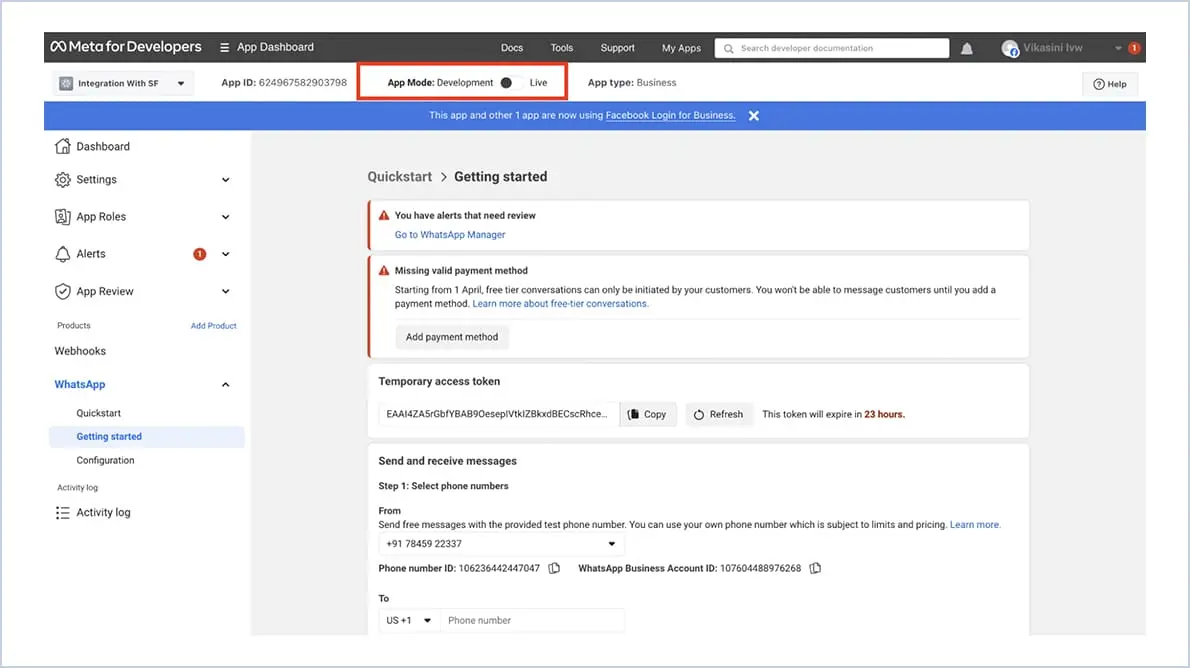
Changing App Mode To Live :
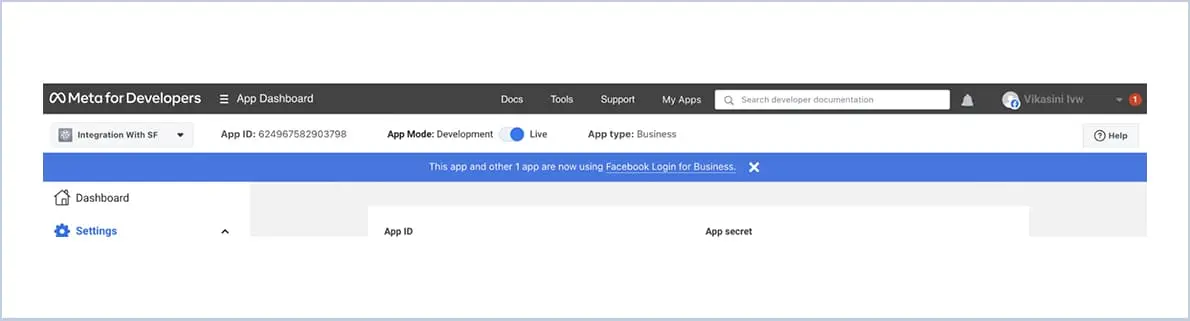
- Change the App Mode from Development to Live.
- App Mode is changed to Live
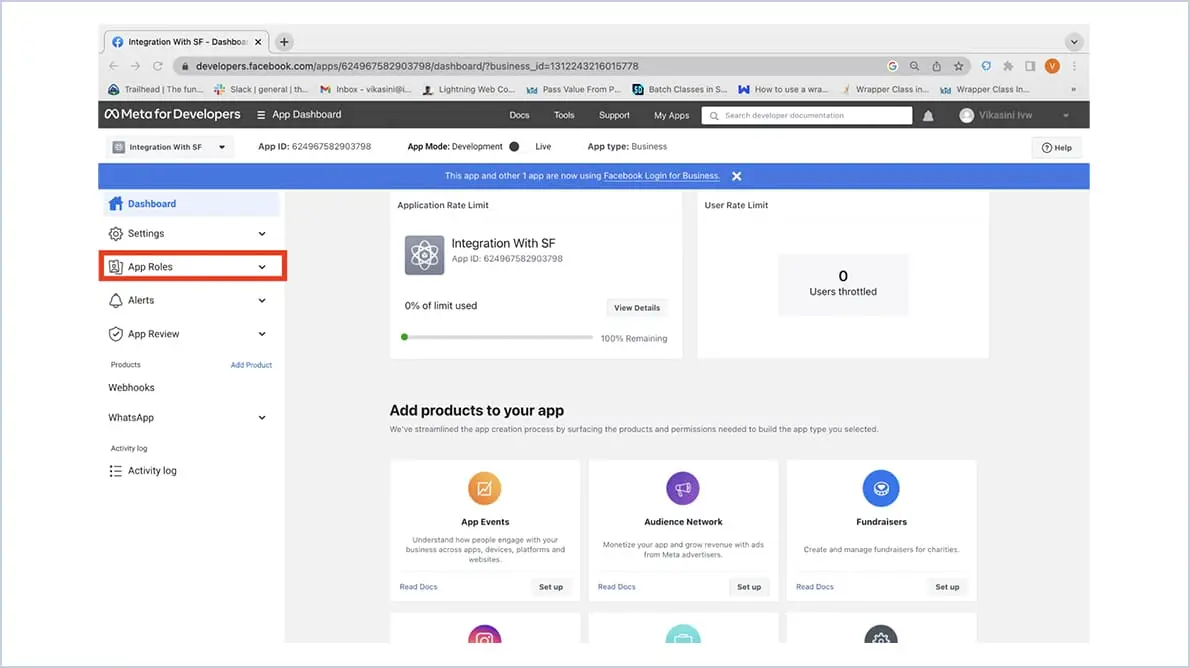
- Click on the App Roles in the left panel of the Meta App page.
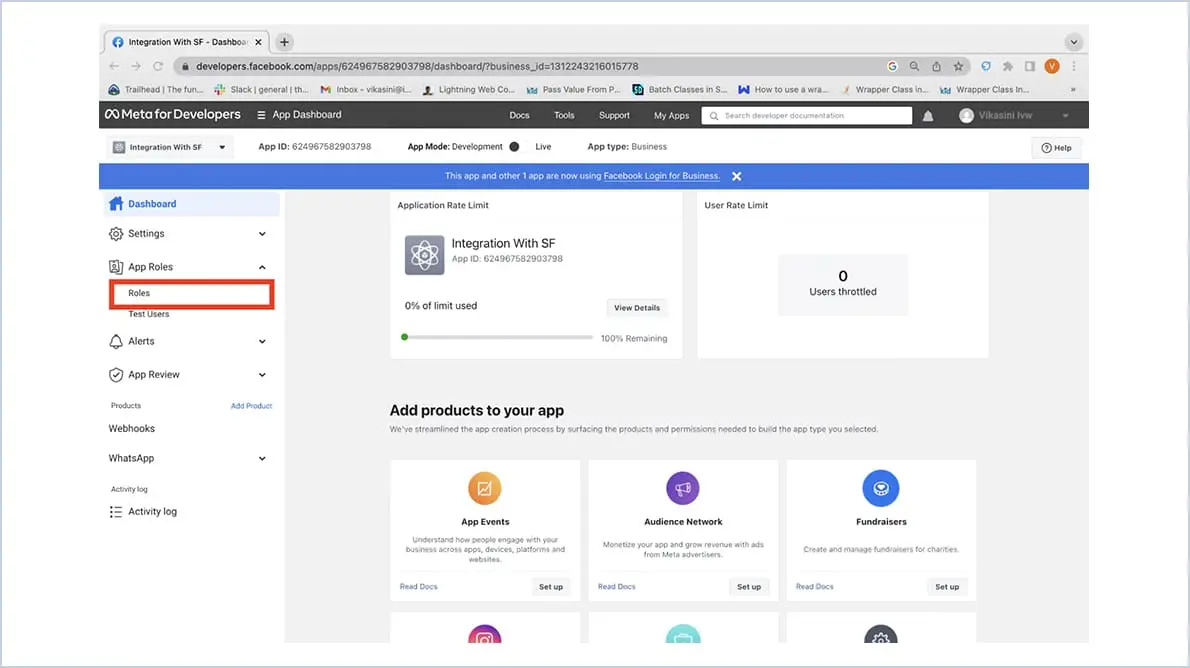
- Click Roles
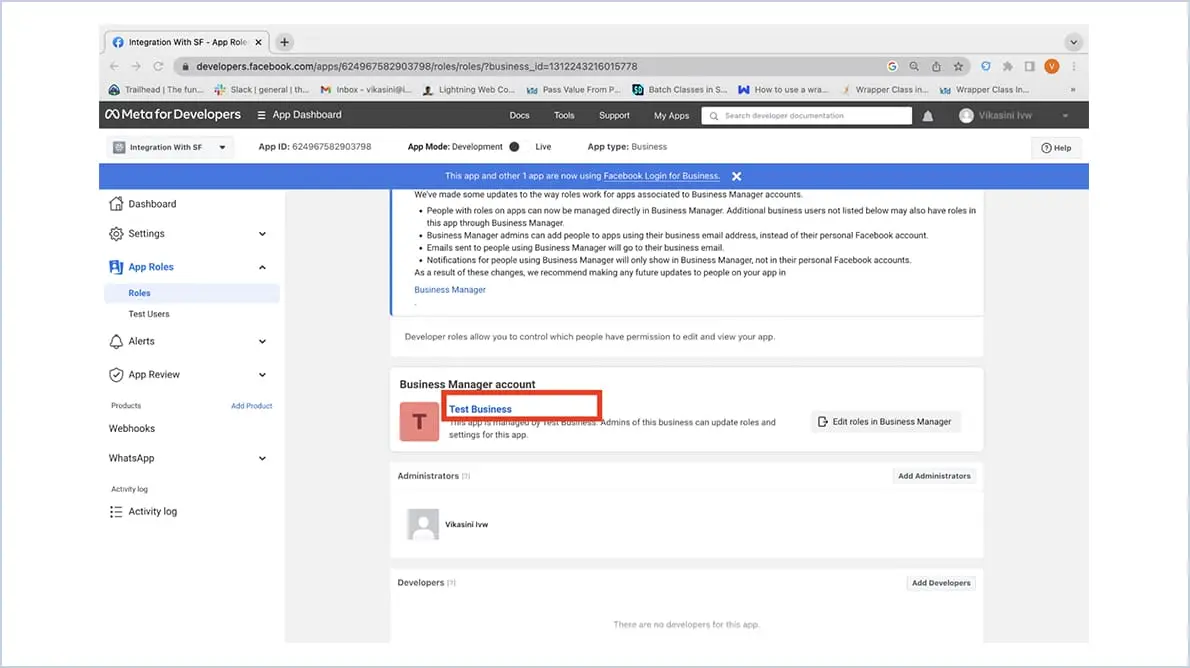
- Click on the Business Manager Account created and linked with that.
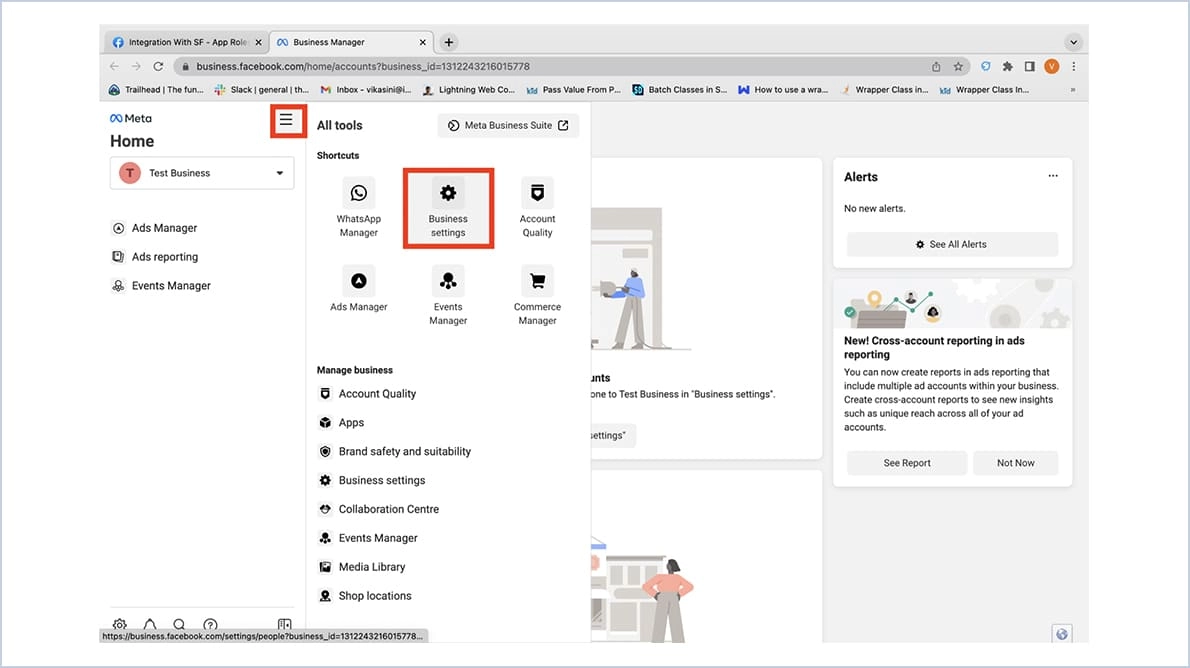
- Click on the All Tools tab from the left panel on the Business Setting page.
- Select Business Settings.
- Select the System Users in the left panel
- Click Add button to Add new user other than system admin
- Click on Add to add and give admin access
- If you face an error in creating the System User,
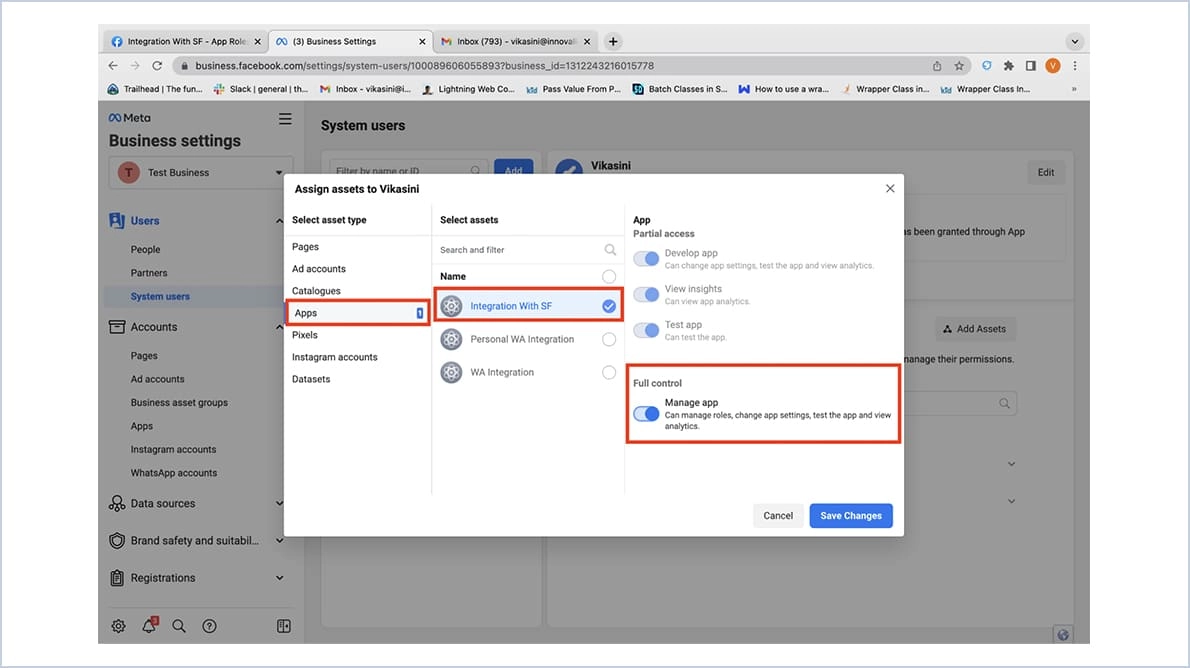
- Add Assets for the user created
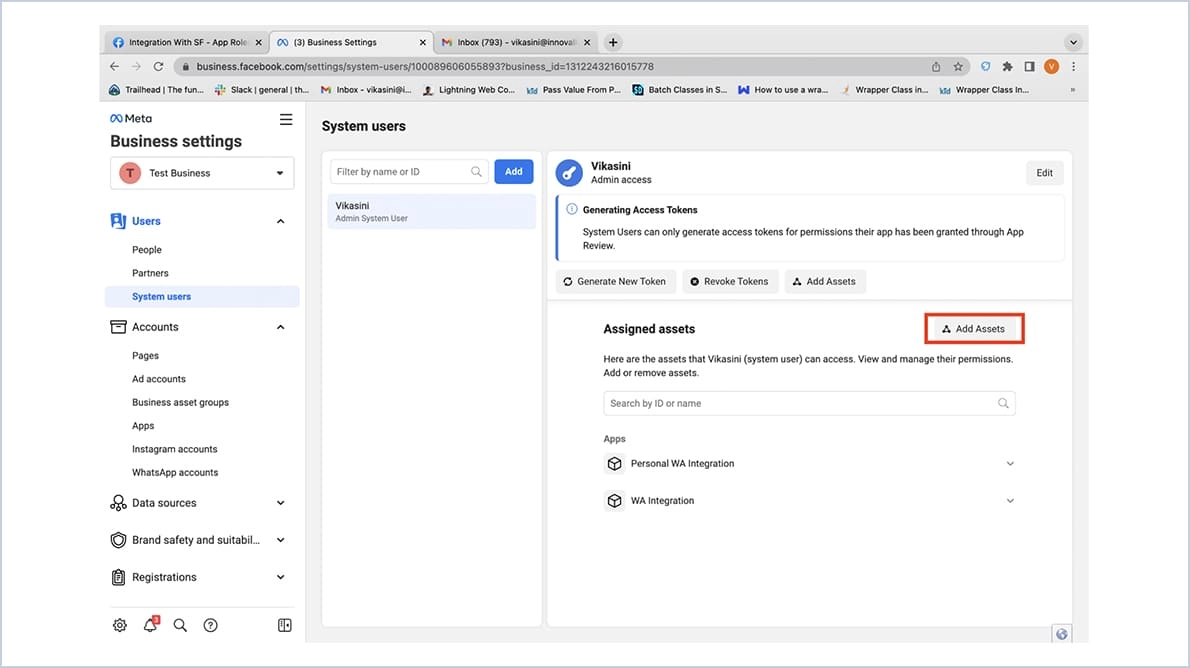
- Select Apps
- Choose the app that we have created
- Turn On Manage app under Full control and Click Save Changes button
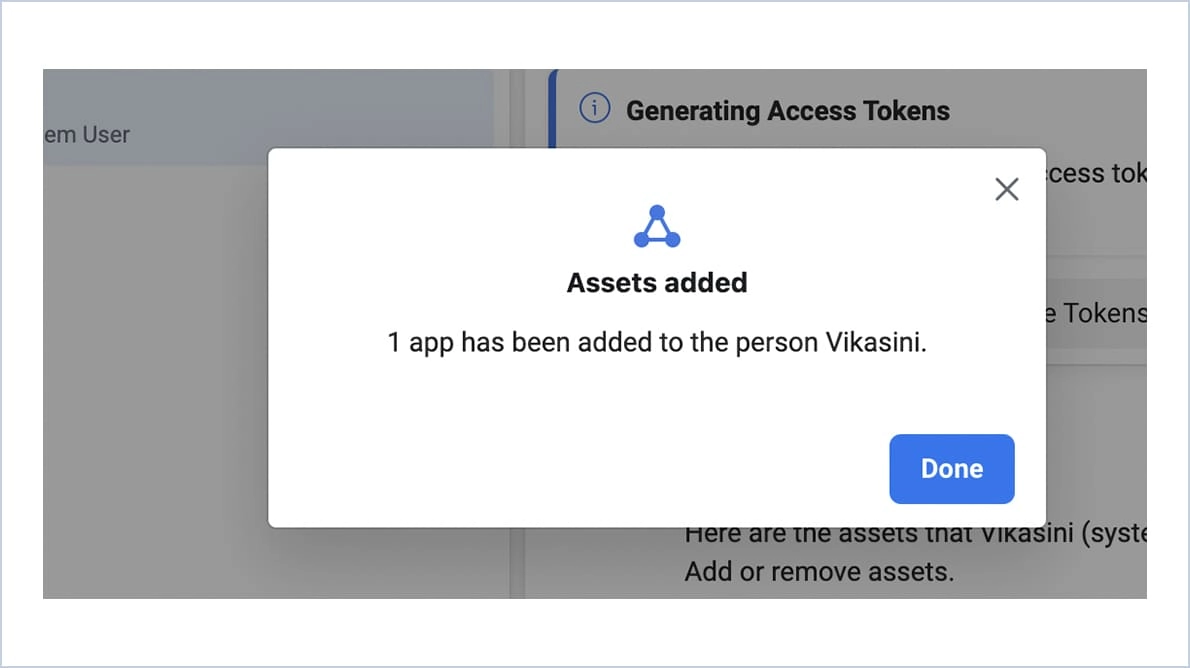
- Click Done
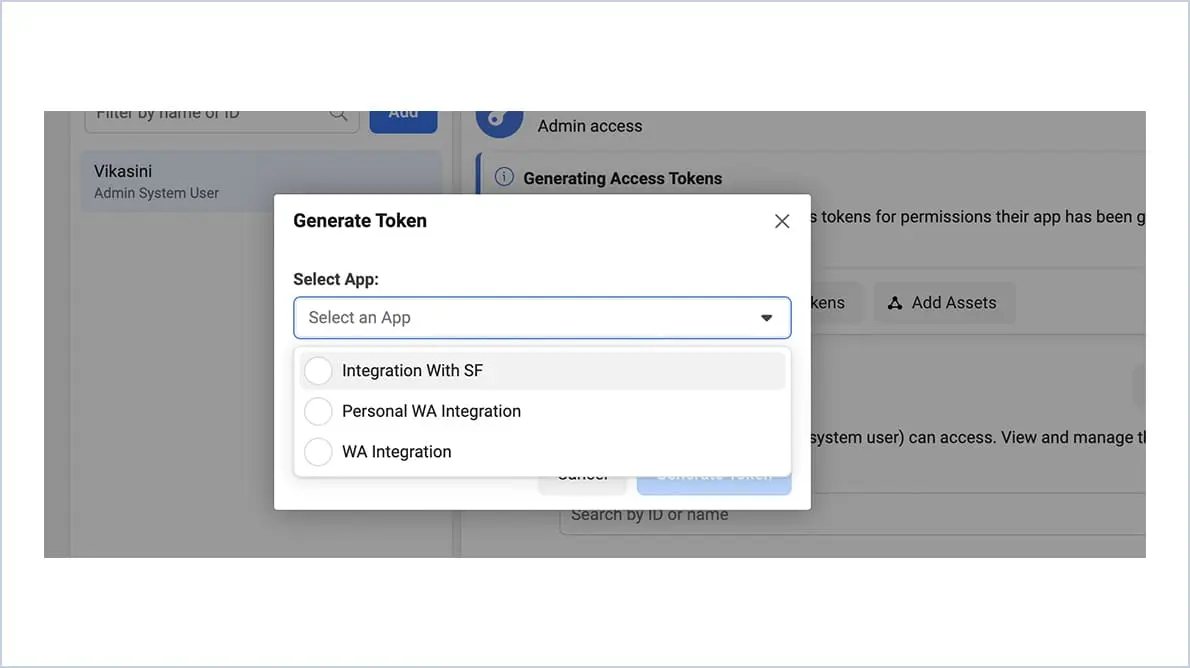
- Click on Generate new token
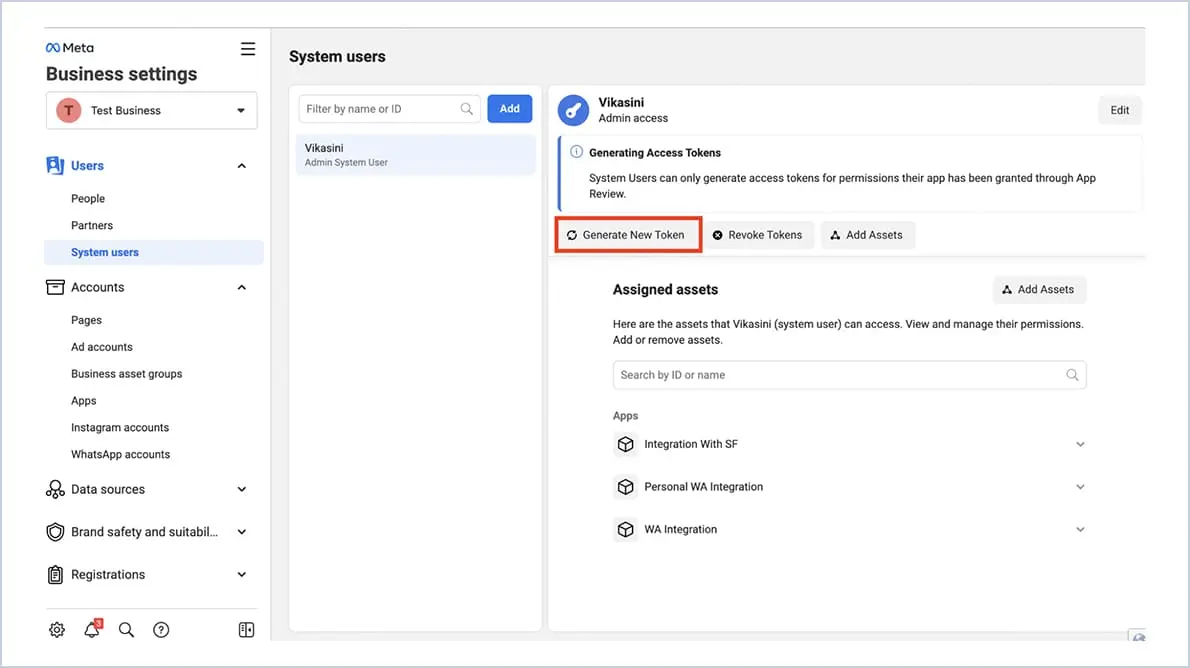
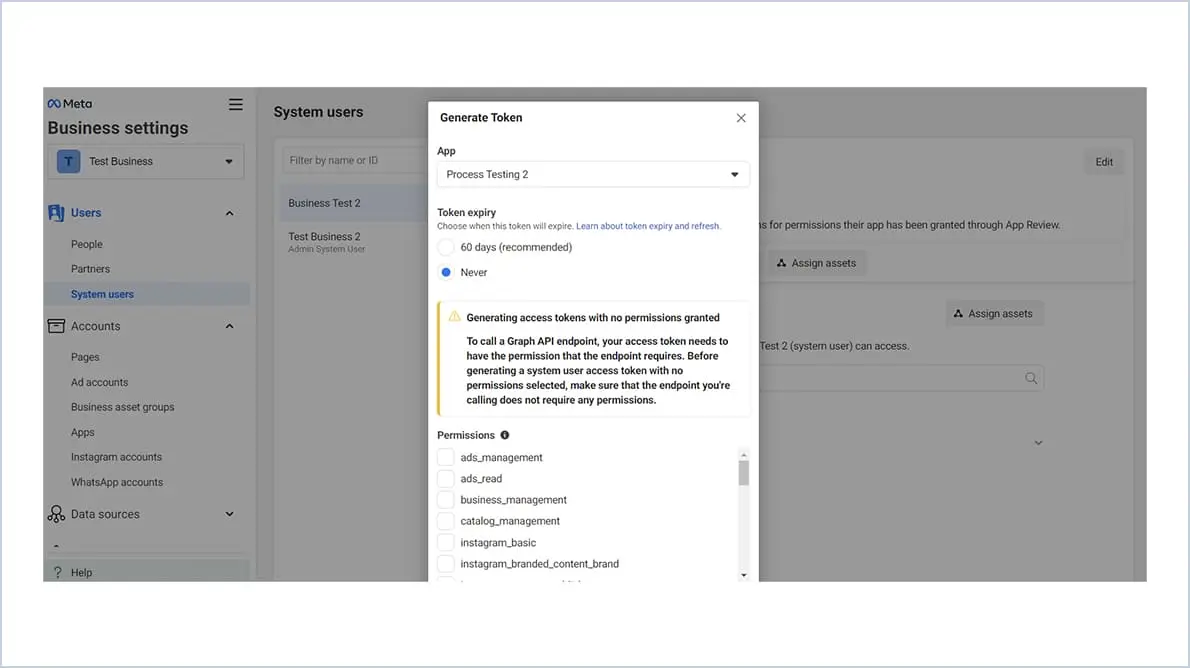
- Select the app for which we want to generate a token and click on generate token.
- Choose the token expiration as Never
- Check Business Management, Whatsapp business Messaging, Whatsapp business Management Check box under Available permissions
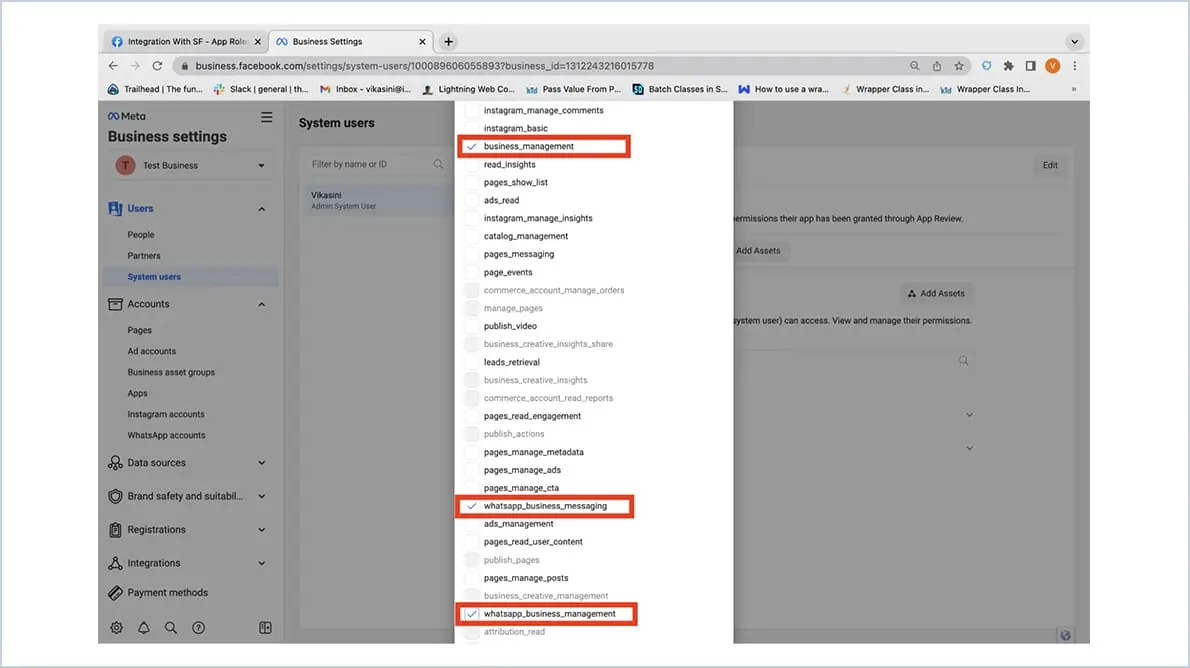
- Click Generate Token Button

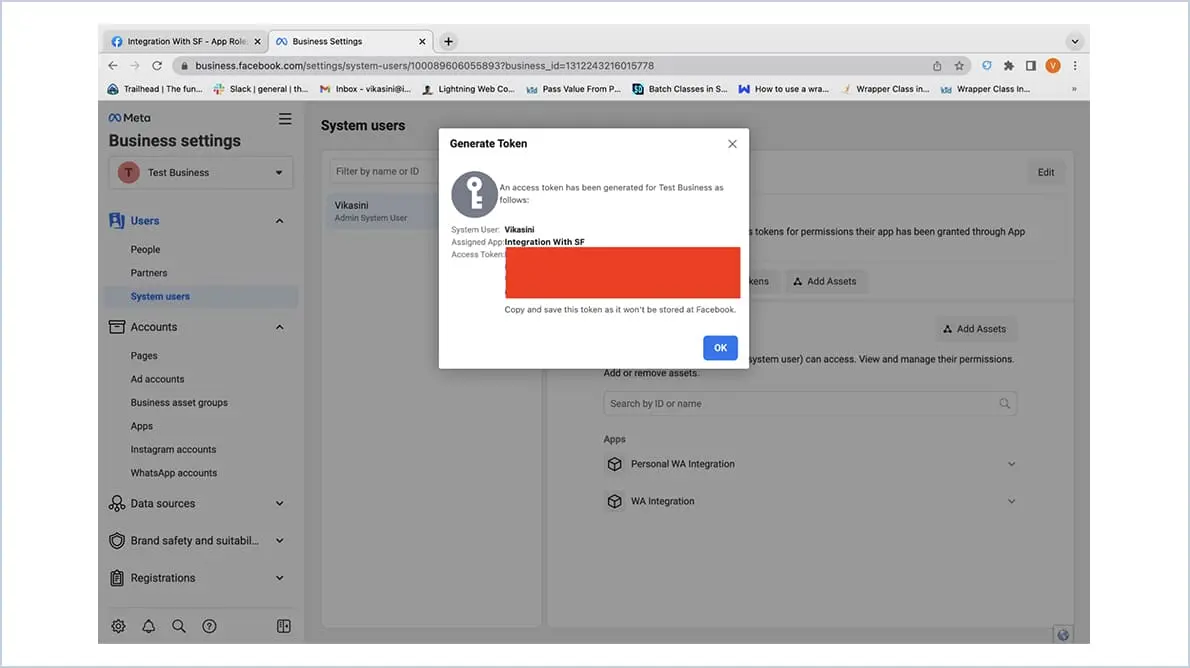
- Permanent Access token is generated. Copy this access token for future use. This access token will be used in Custom metadata in Salesforce
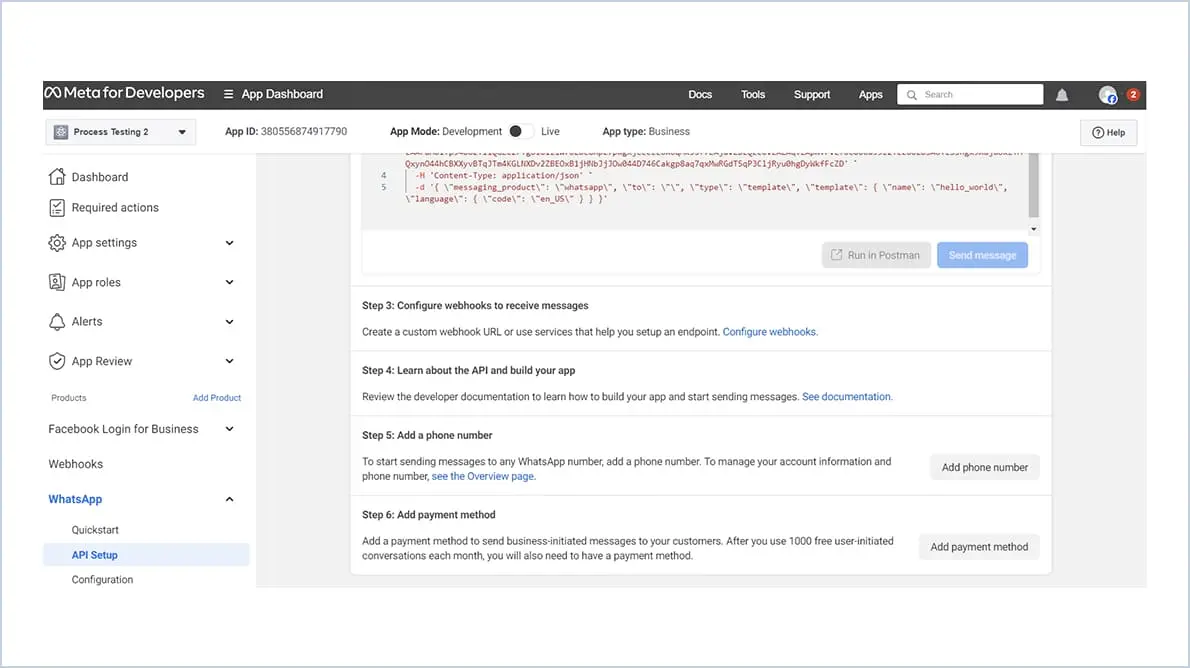
- Creating WebHook
- Developers.facebook.com-> Your App -> WhatsApp -> API Setup -> Configure Webhooks.

- Click the ‘Configure Webhooks’ hyperlink and then click ‘Edit’
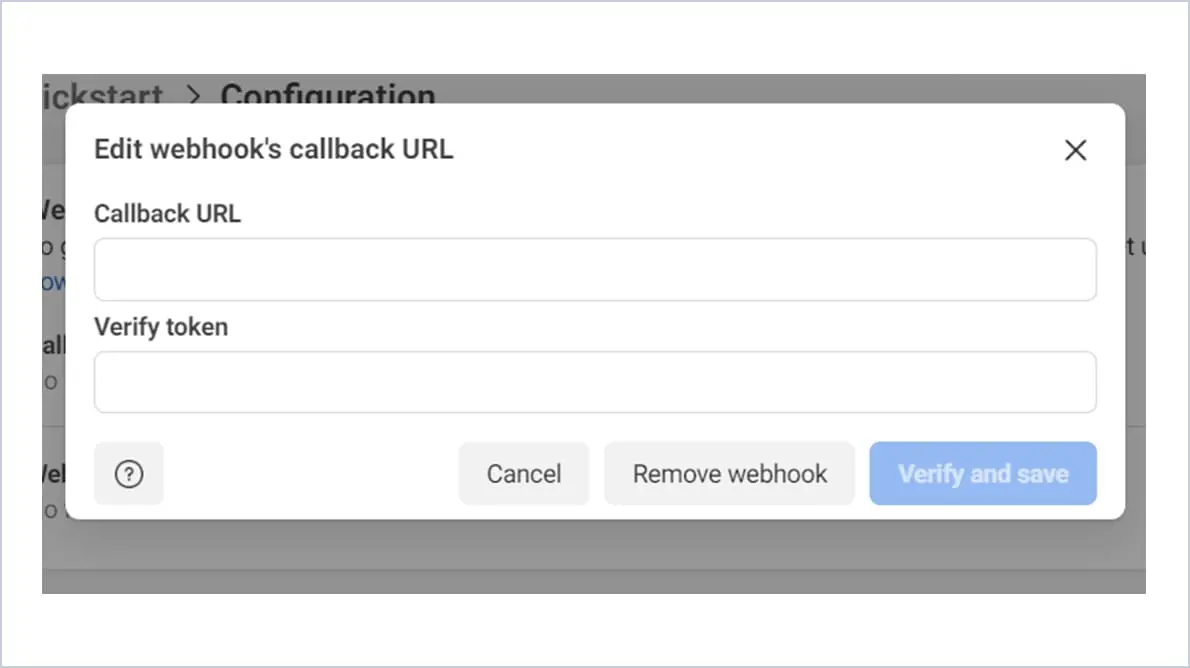
- Enter the FB Verify token and Site URL, then click Verify and Save
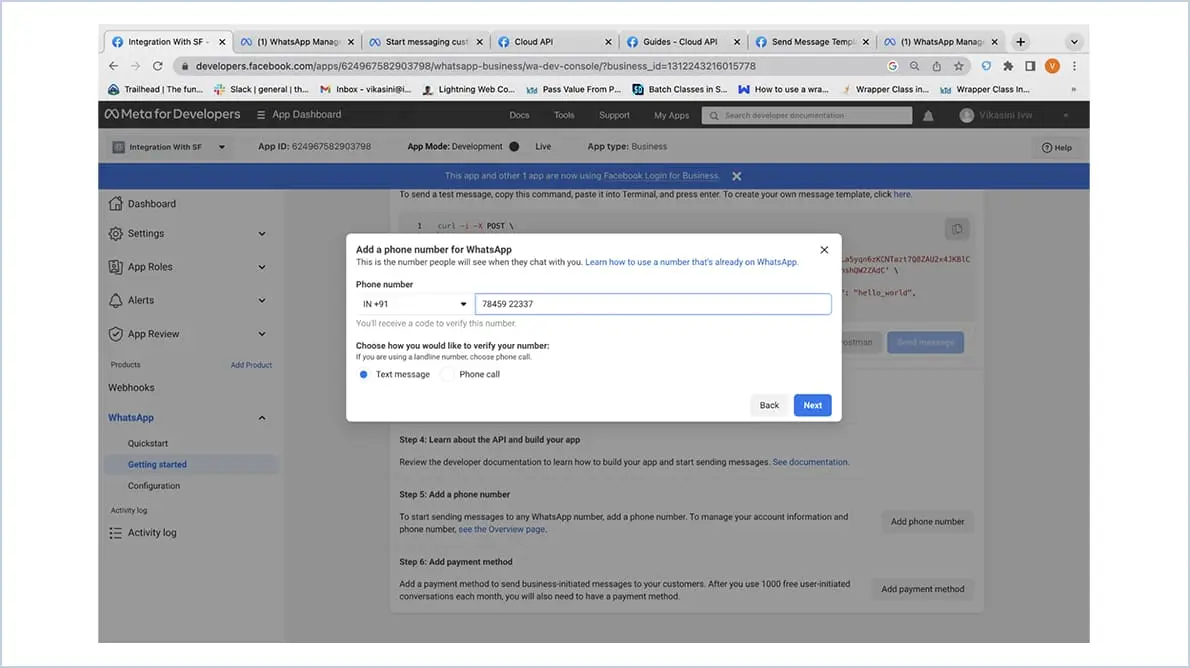
Adding Business Number to Meta :
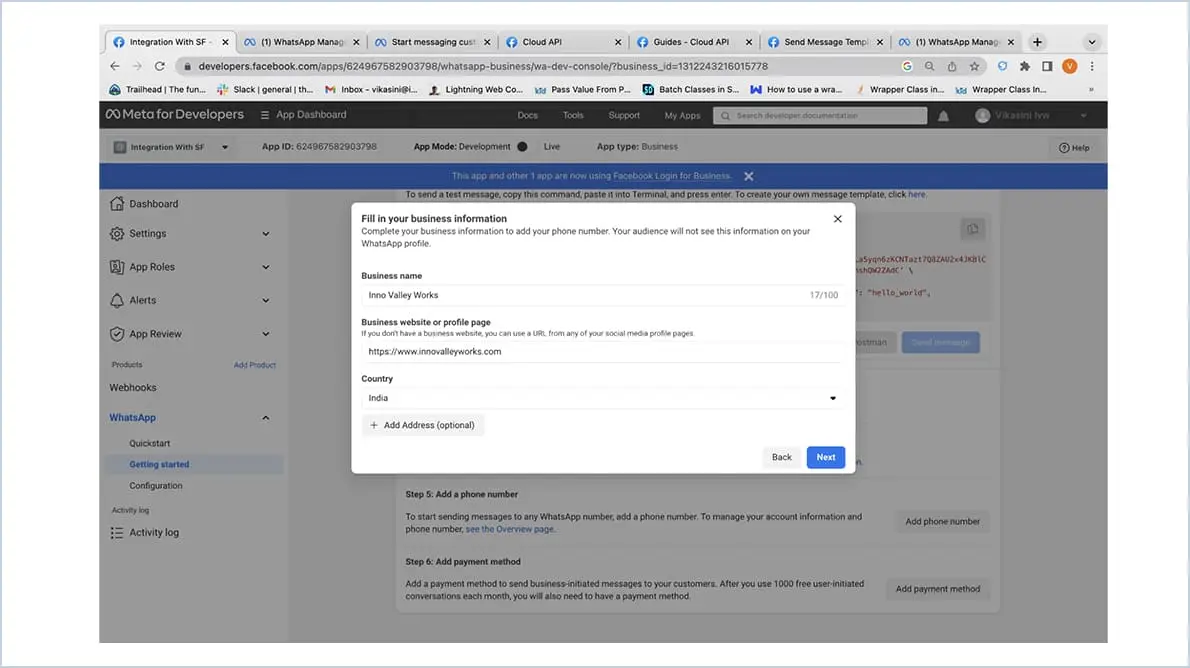
- Whatsapp → API Setup -> Add Phone Number
- Enter the details Like business name, website and select the country and Click Next
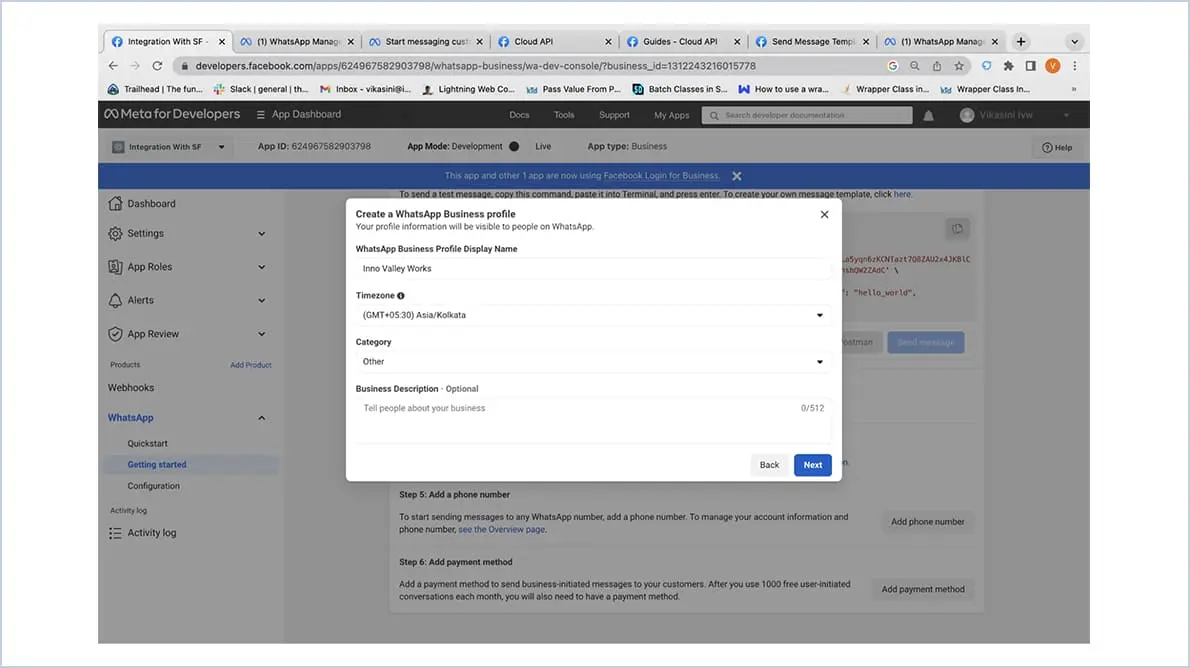
- Select the appropriate category for your business and click Next
- Select country code and enter the phone number
- A verification code will be sent
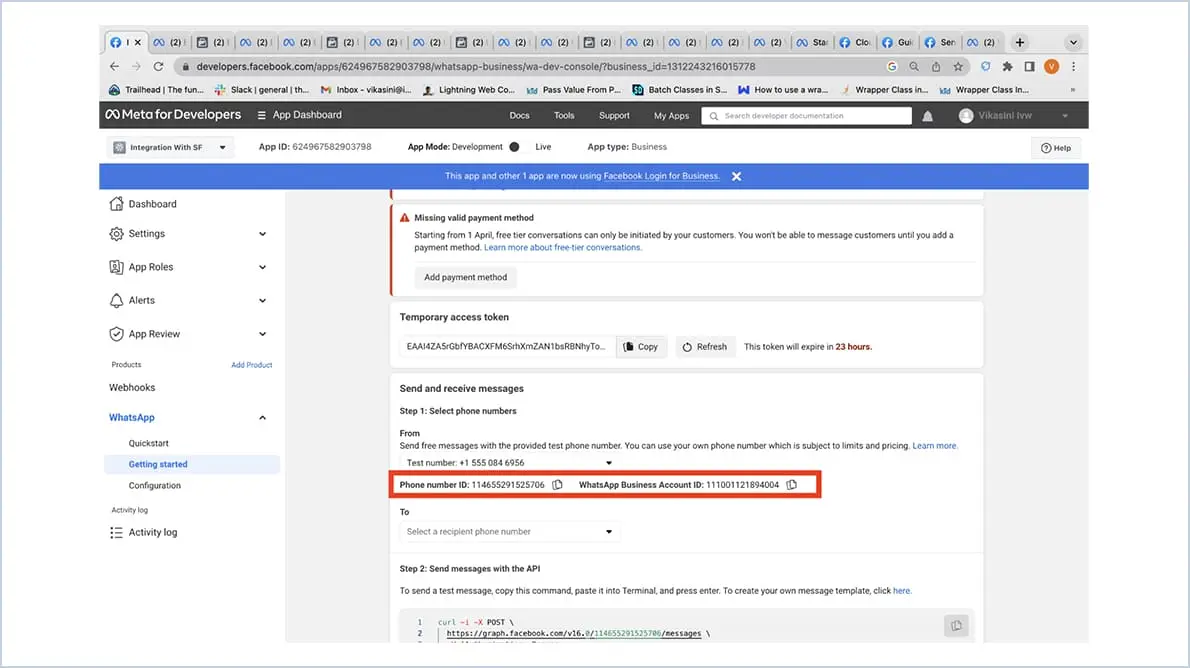
- Go to Whatsapp → API Setup
- Once the number is verified, it can be used to send messages
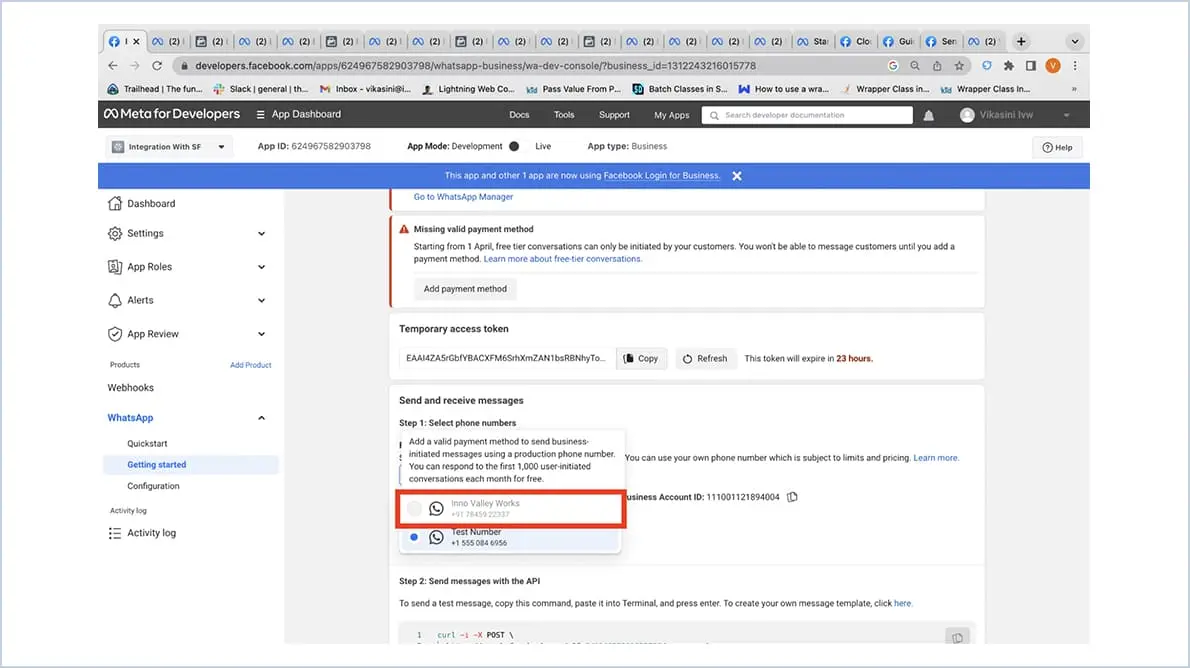
- Copy the Phone number Id & Whatsapp business Account Id which will be used in Custom metadata of Salesforce
- Next is adding the payment method
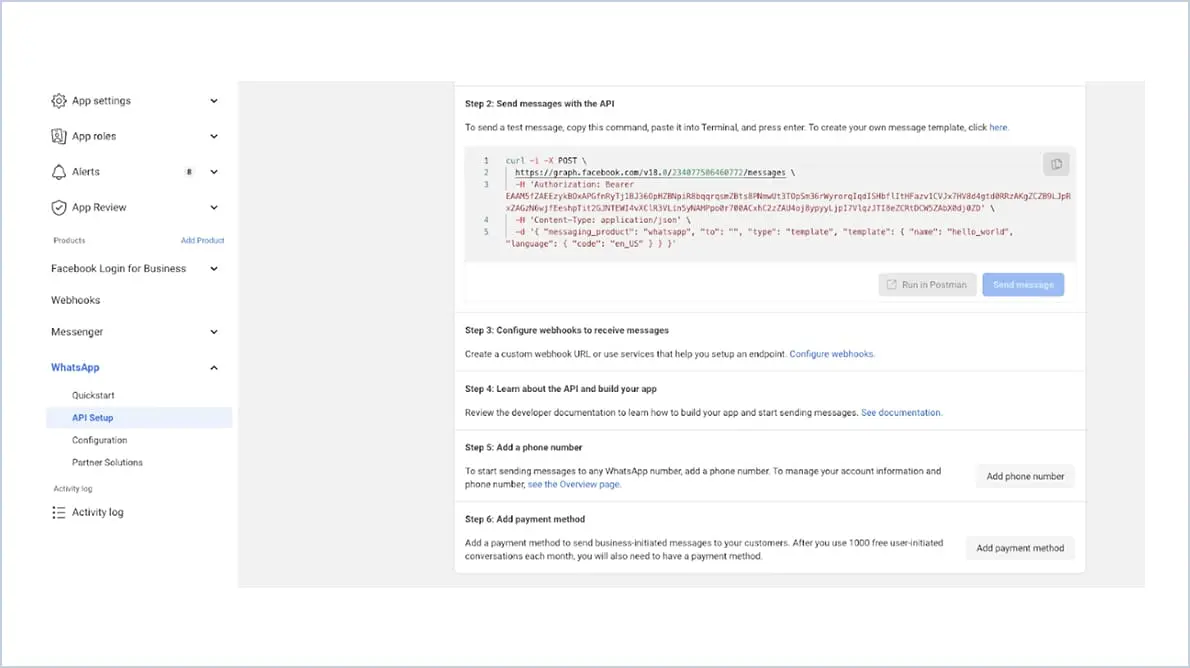
- Click Add Payment Method. It will redirect you to the below page
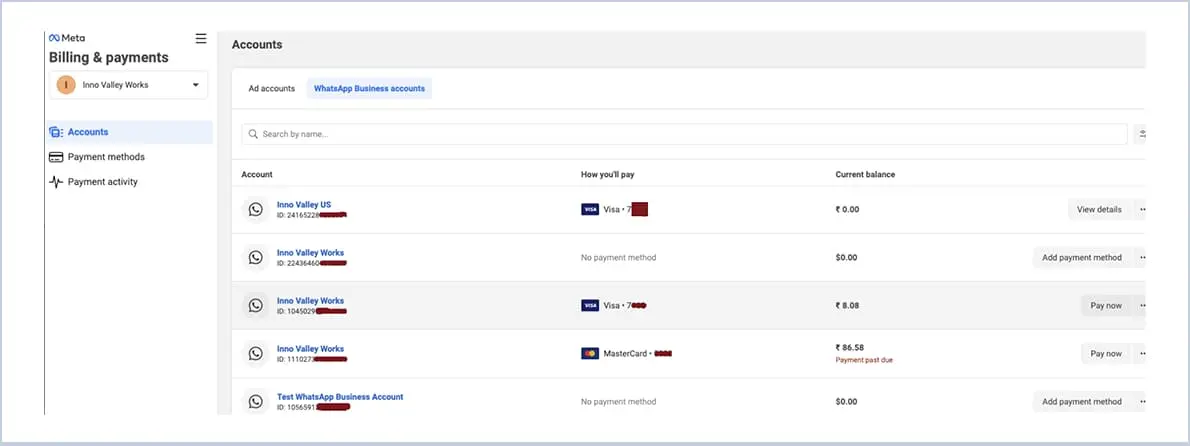
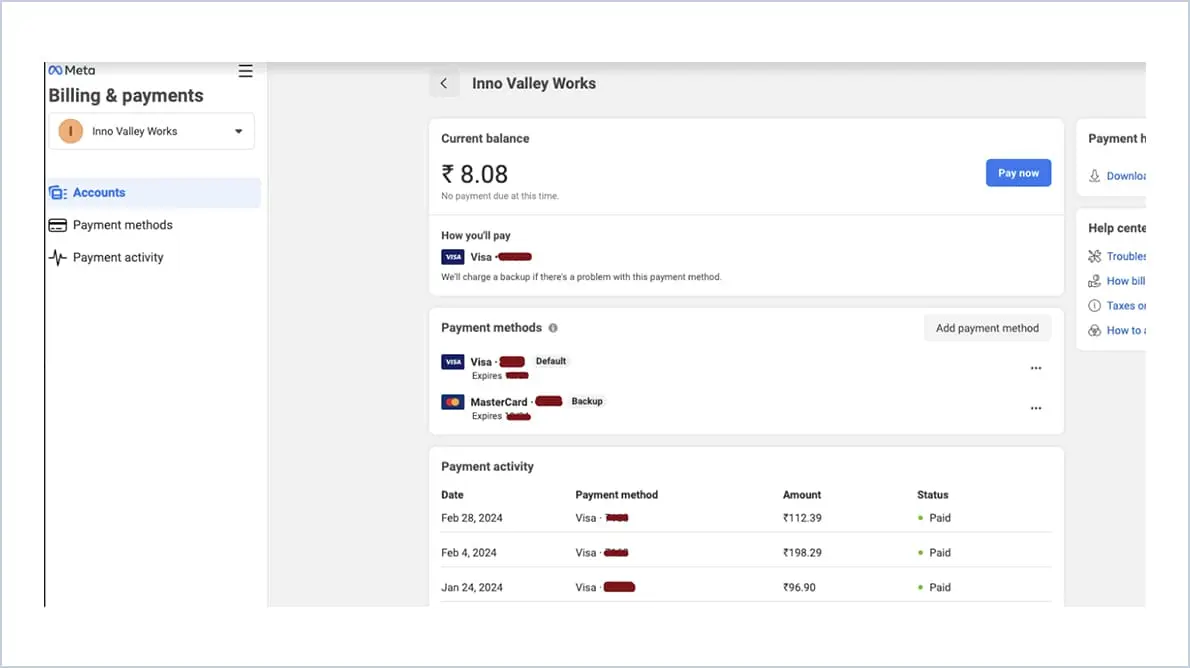
- You can click on a specific record to view/edit it.
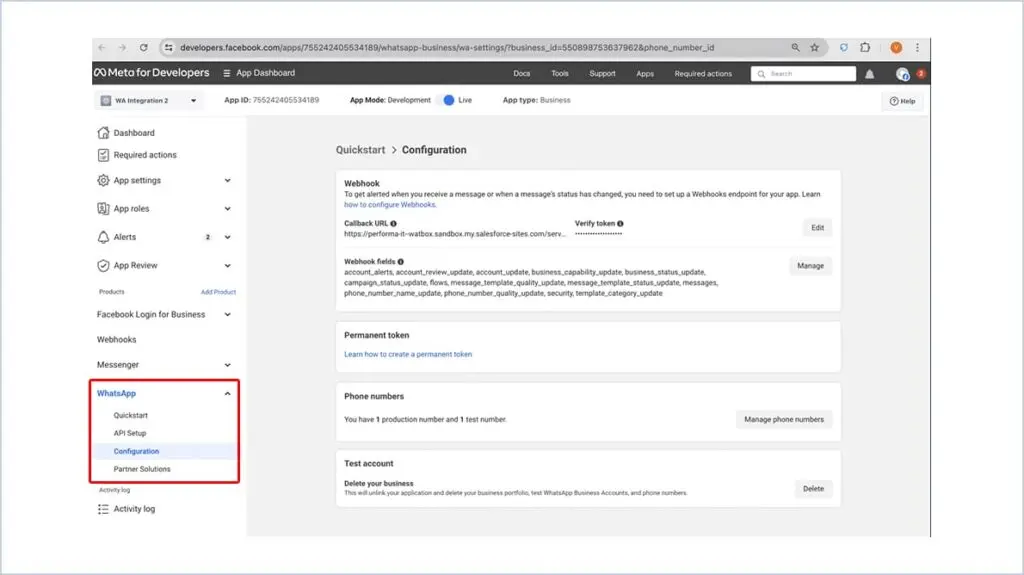
- After generating the access token, click ‘Configuration’ under ‘WhatsApp.’ You will be redirected to the following page:
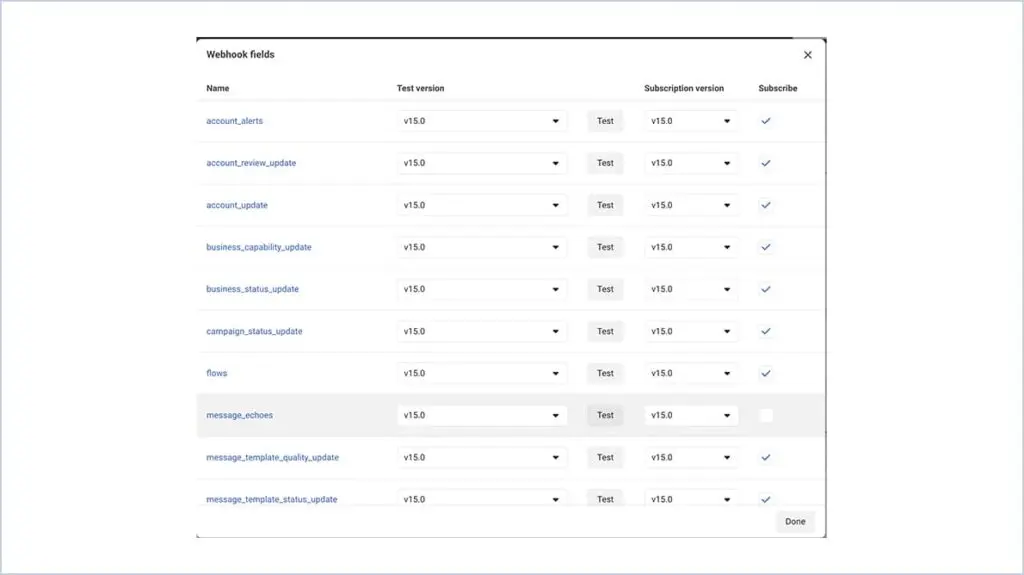
- Now Click ‘Manage’ and ensure that ‘messages, message_template_Quality_update’ are ticked, but do not untick any other option.
Creating Templates in Meta :
- Click Quickstart under WhatsApp
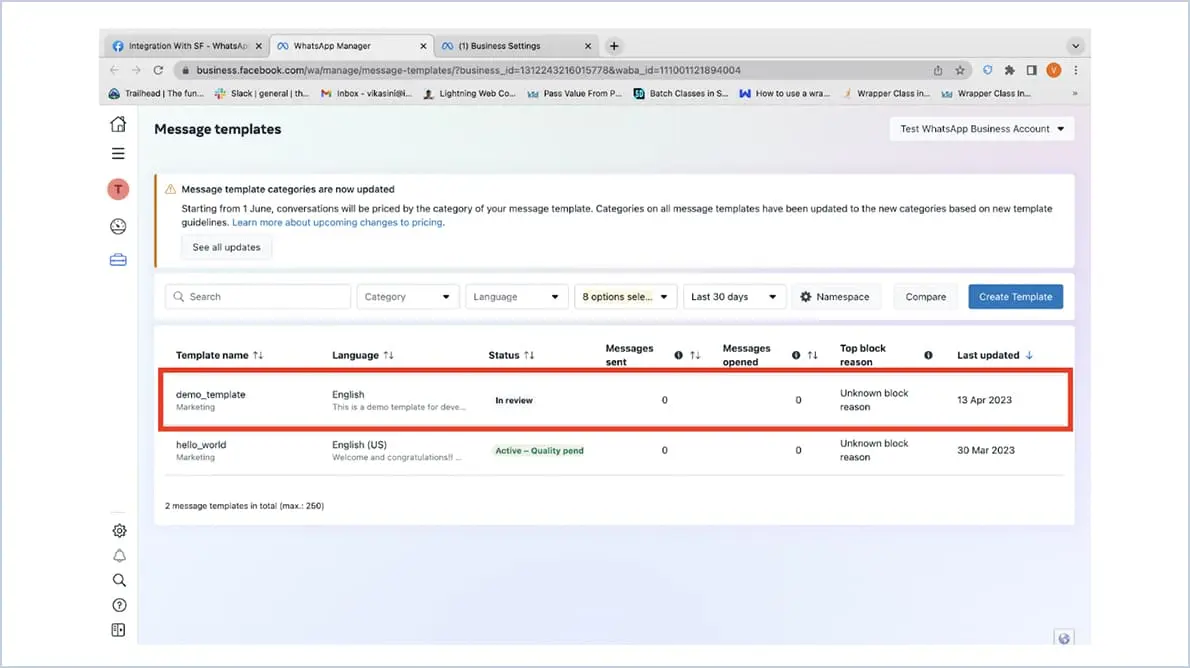
- Click on Message Templates
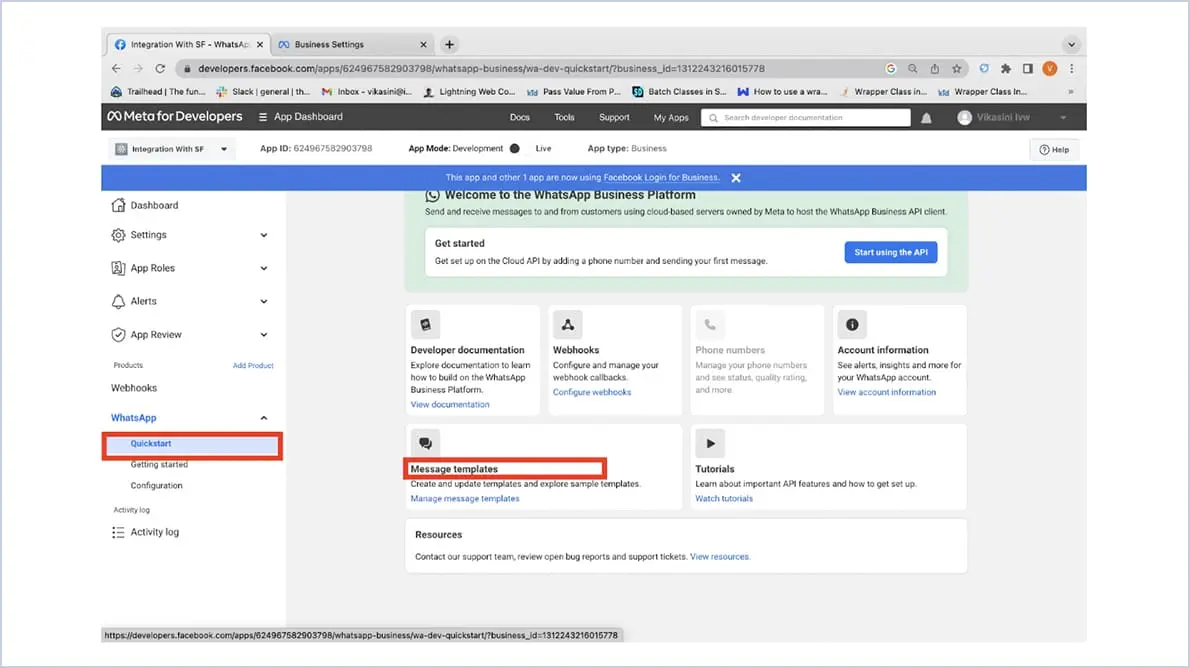
- Click Create Template button
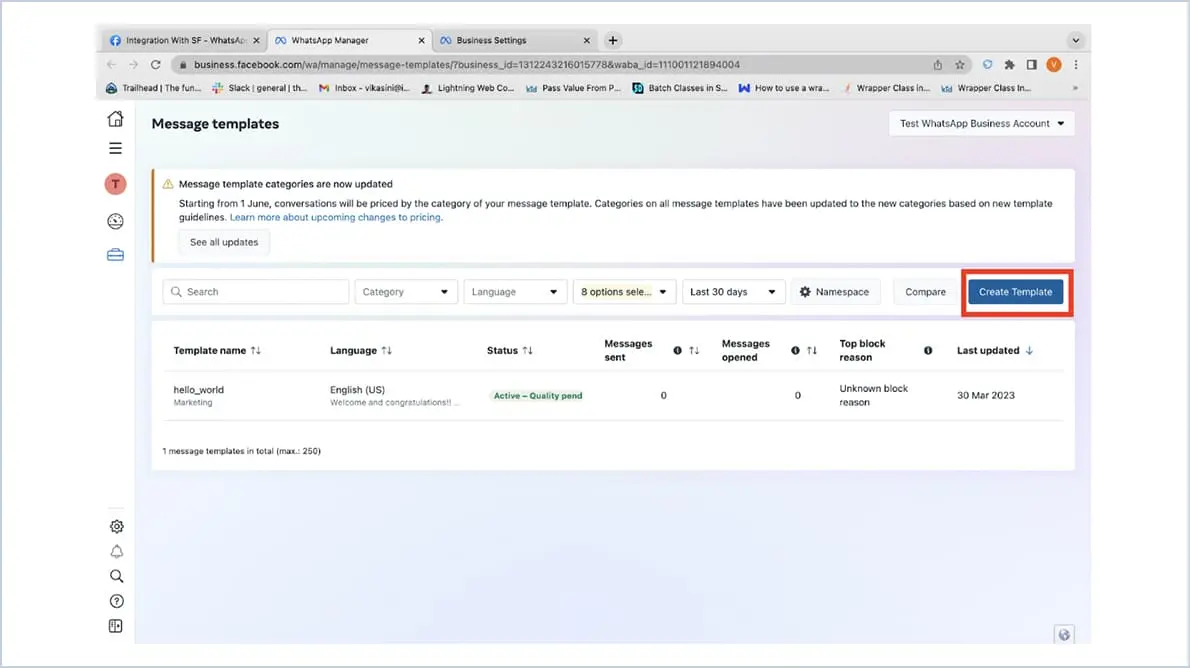
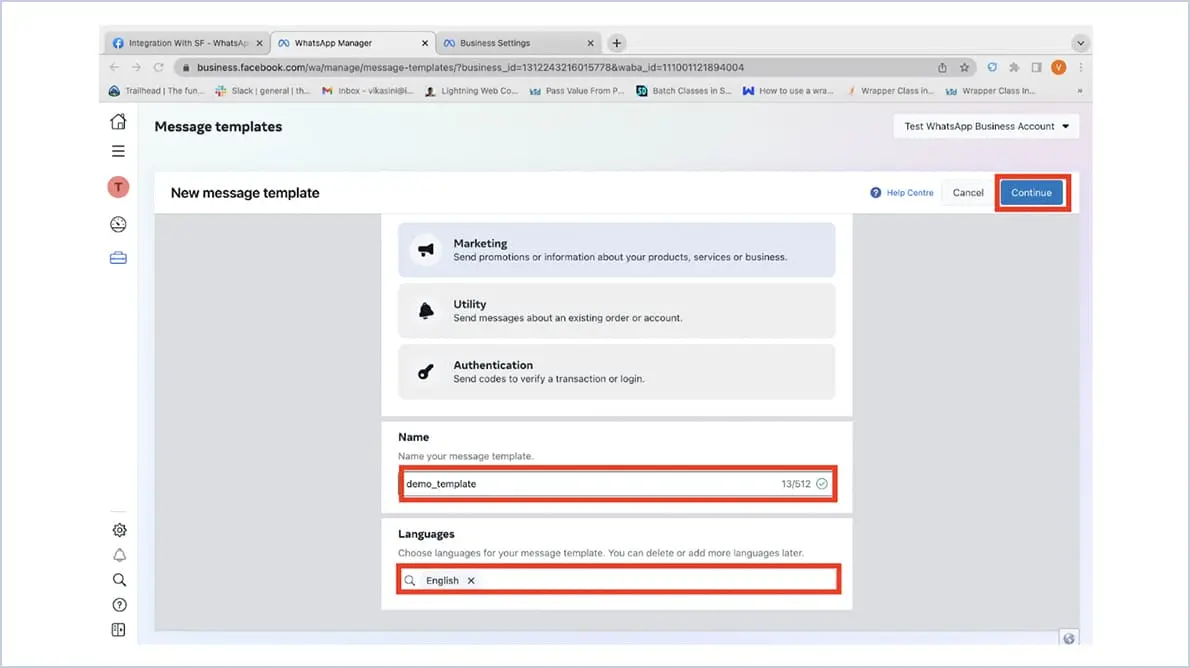
- Choose the category of the template and give name and select a language in which the template should be available. Click Continue
- You need to enter the content of the template
- You can see the preview on the right side. Click submit
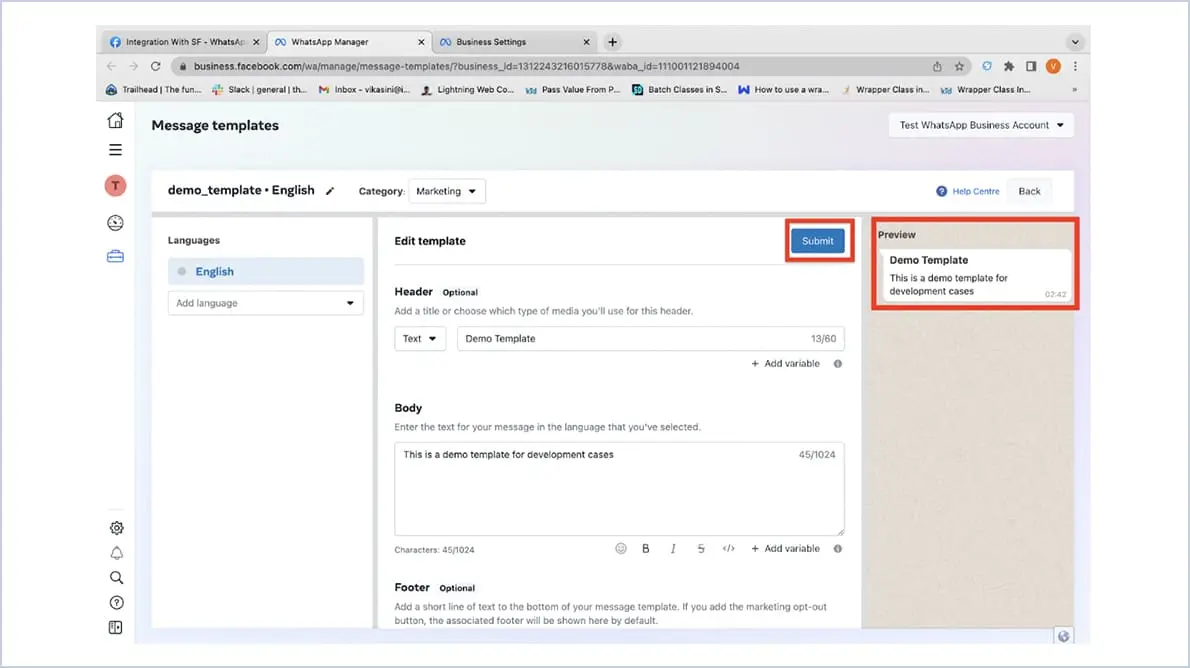
- The template has been created. It needs to be verified by Meta. Once the template is verified status changes to Active.
Guidelines for Message templates :
Template Record Creation in Salesforce :
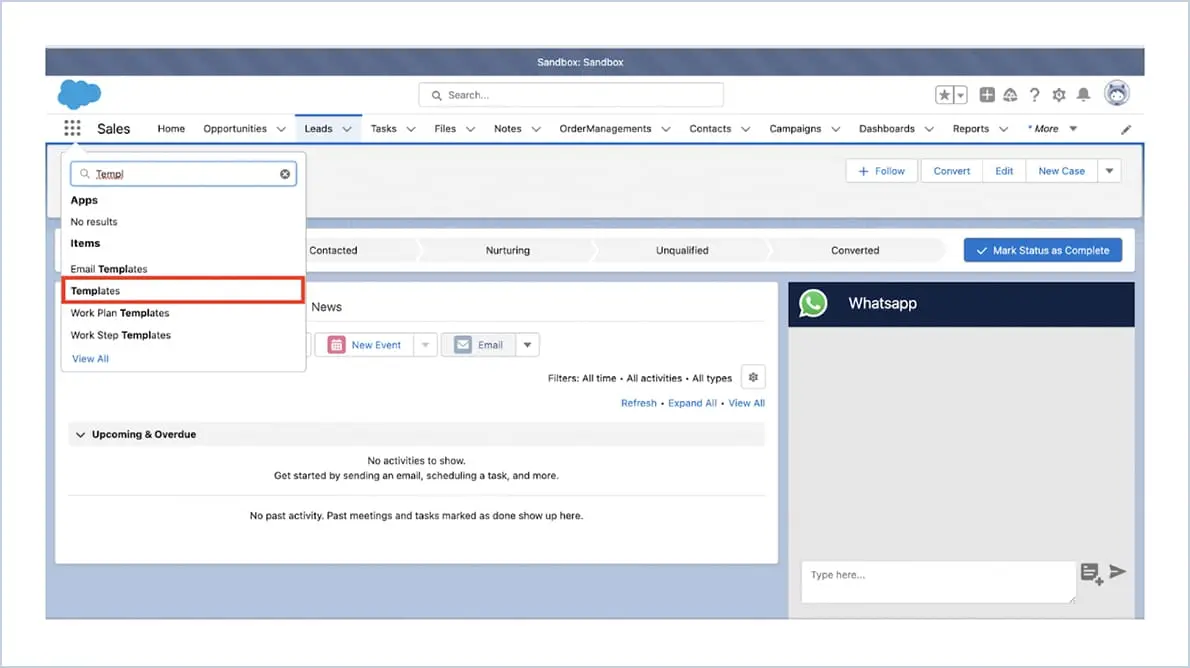
- To Create WA Templates
- Search templates
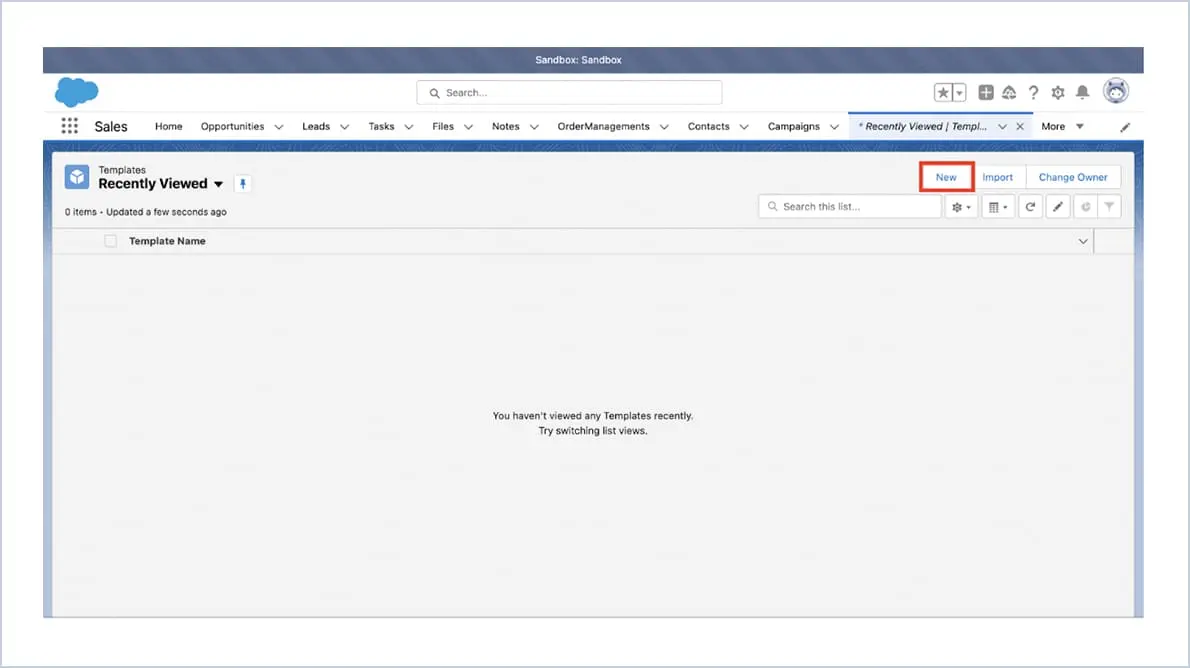
- Click New
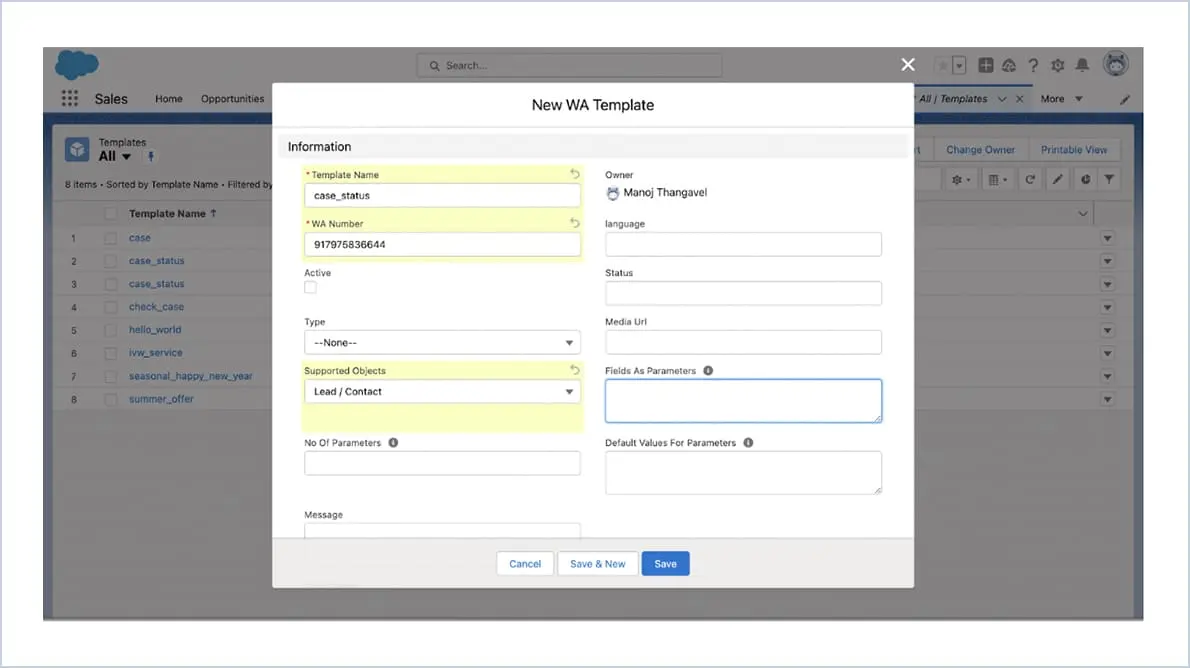
- Enter the template name which you created in Meta
- WA Number – WhatsApp number with country extension (Eg : 919876543210)
- Supported Objects – Choose the object type
Note :
- If the template contains any image in header, Give the image URL in Media URL field
- If the template is a dynamic template,
- Field API Names of field values to be sent as parameter should be given in Fields As Parameters field.
- Give the default values for the template in Default Values For Parameters field.
Frequently Asked Questions
Is Watbox GDPR compliant?
WatboxApp, which uses WhatsApp with Salesforce, is fully GDPR compliant. Here's how we ensure data protection and privacy :
Secure Data Handling : All customer data is encrypted during transmission and storage between WhatsApp and Salesforce. There is no third party involved in the data storage. Only your salesforce system will have the customer data.
User Consent : We obtain explicit consent from users when they interact with us via WhatsApp and also the customer data with the consent you already have can be used for WhatsApp communication.
Data Minimization : We collect only the necessary personal data required for customer service purposes. Strict access controls are in place within Salesforce. Only authorized personnel with the necessary permissions can access personal data.
Opt-Out/Unsubscribe : Customers can opt out or unsubscribe from WhatsApp Communication anytime by responding or clicking the opt-out buttons.
How does WatBox connect to Sales in Salesforce?
When a customer interacts through WhatsApp, scanning a QR code or initiating a chat from a platform like Facebook, WatBox forwards the message and phone number to Salesforce. If the phone number is new, WatBox creates a Person Account, Contact, or Lead. If the number already exists, the message is added to the appropriate record.
Can WatBox messages be tagged to any Salesforce objects?
Yes, WatBox allows configuration for tagging inbound or outbound messages to any specific Salesforce objects.
Level up WhatsApp Integration with Salesforce
Start with a 30 day trial for you to taste the CRM + WhatsApp interactions!